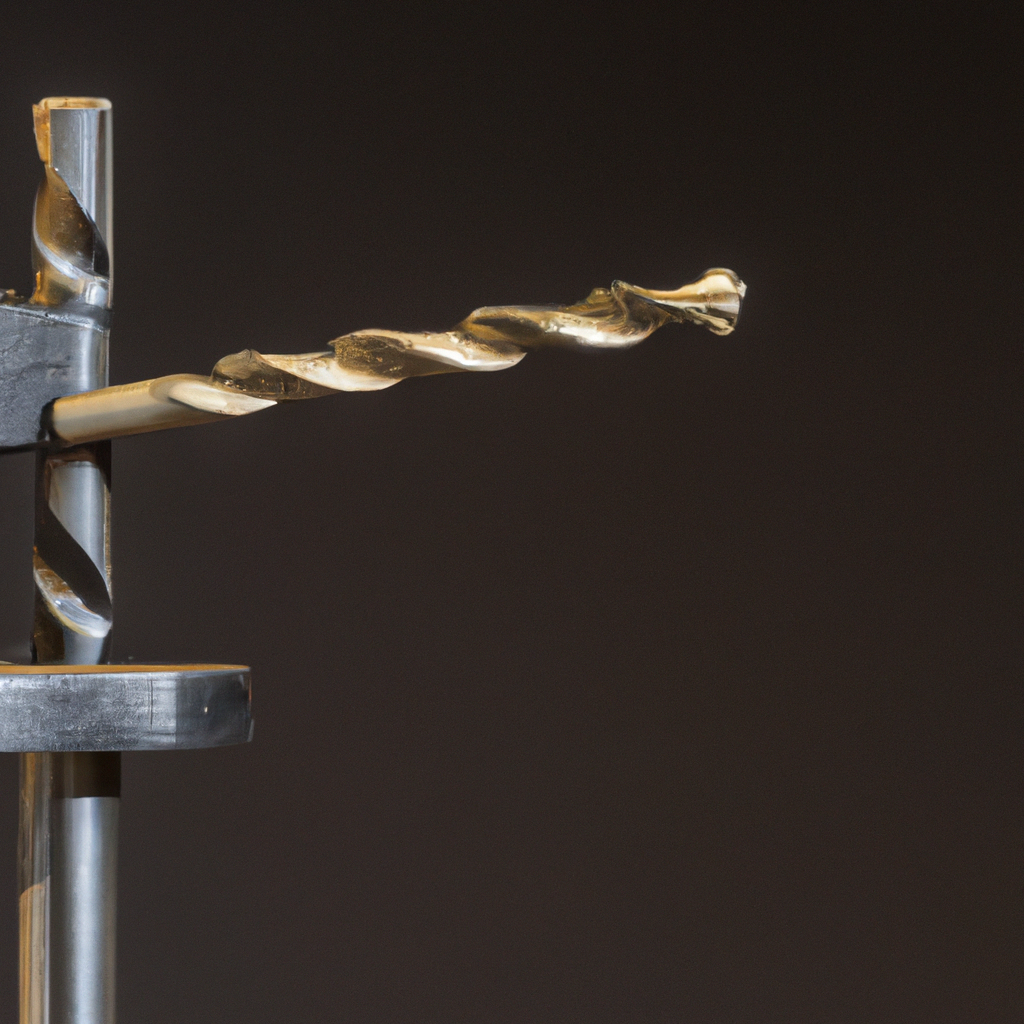
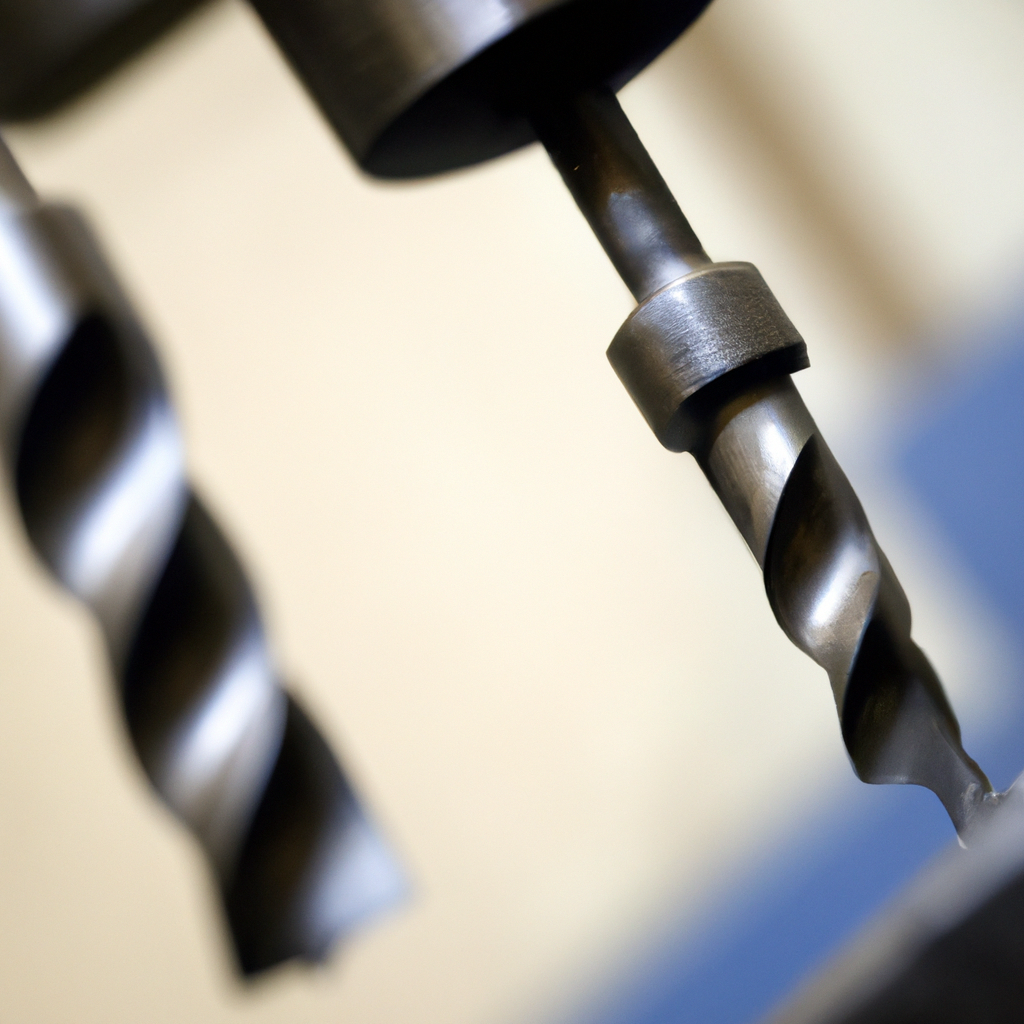
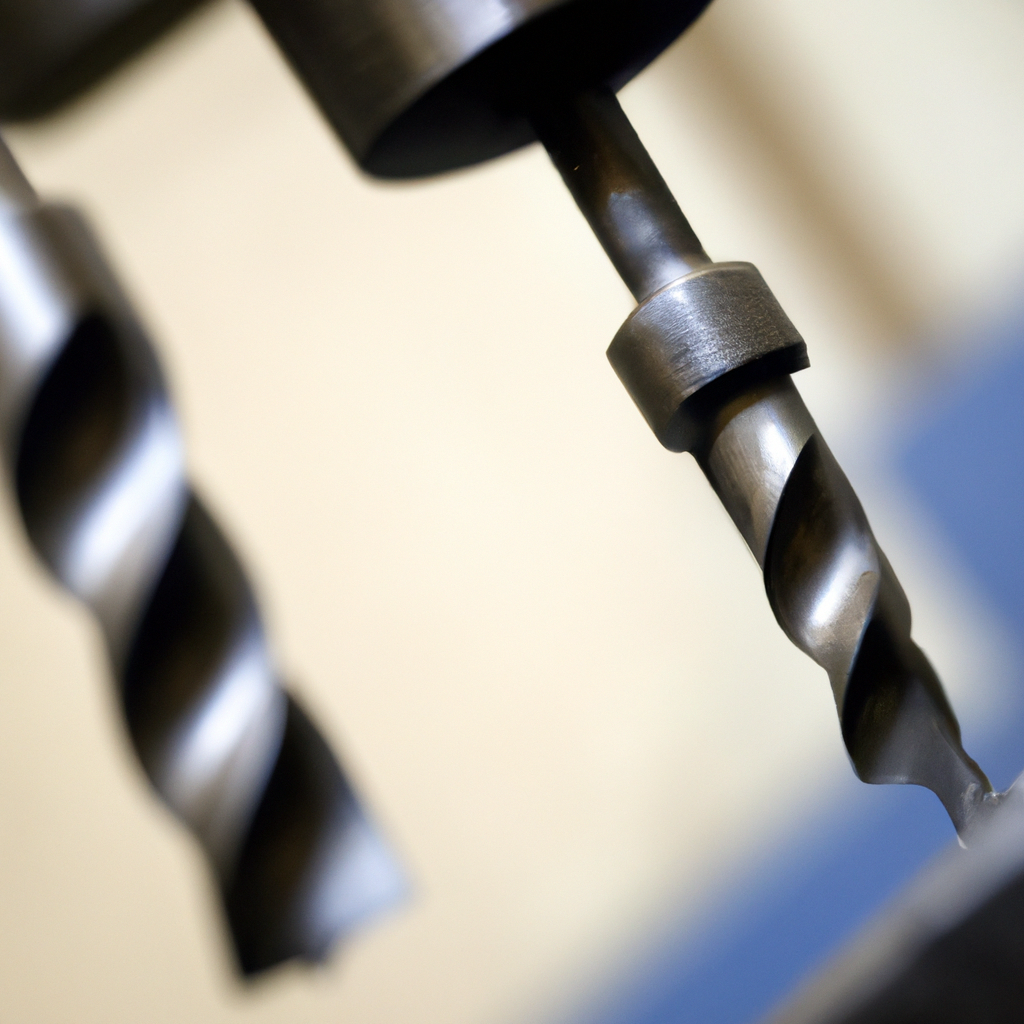
So, you’re curious about the inner workings of a drill press? Well, you’ve come to the right place! In this article, we’ll be taking a closer look at the various parts that make up this versatile and essential tool. From the powerful motor to the adjustable table, we’ll explore each component and how they work together to ensure precise drilling. So, let’s not waste any more time and jump right in!
Parts of a Drill Press
If you’re a DIY enthusiast or professional woodworker, having a drill press in your workshop is essential. Drill presses are powerful and versatile tools that can make your drilling tasks more accurate and efficient. To fully understand how a drill press operates, it’s important to familiarize yourself with its different parts and their functions. So let’s explore the various components that make up a drill press and how they work together to provide you with precise drilling capabilities.

Table
The table is the flat surface where you position and secure your workpiece during drilling. It typically consists of a metal or wooden platform that can be adjusted to accommodate different sizes of materials. The table can be tilted up to 45 degrees in both directions, allowing you to drill angled holes. It also features slots or clamp holes that enable you to attach clamps or fixtures to hold your workpiece securely in place, preventing any movement while drilling.
Base
The base is the foundation of the drill press that provides stability and support. Usually made of cast iron or steel, the base is designed to be heavy and sturdy to minimize vibrations during operation. It keeps the drill press steady, ensuring accurate drilling results. The base also incorporates holes or slots for bolting it onto a workbench or floor, enhancing its stability and preventing any accidental movement while drilling.
Column
The column is the vertical pillar that connects the base to the head of the drill press. Typically made of steel or cast iron, the column provides the structural support and stability necessary for the entire drill press assembly. It allows the head and table to move up and down along its length. The column is usually hollow to accommodate the internal mechanisms and wiring of the drill press. It’s crucial to ensure that the column is securely bolted to the base for optimal stability and structural integrity.

Head
The head contains the motor, gearing mechanism, and other internal components that drive the drill bit. It is attached to the top of the column and can be adjusted vertically for drilling holes at different depths. The head features a spindle that holds the drill chuck and rotates the drill bit at various speeds. It also houses the depth stop, feed handle, and laser guide, which we’ll explore in more detail in subsequent sections.
Chuck
The chuck is the gripping device located in the head of the drill press that holds the drill bit securely in place. It consists of three jaws that can be opened and closed using a chuck key or keyless mechanism. The chuck allows for quick and easy bit changes, enabling you to swap out different sizes or types of drill bits according to your needs. It’s important to ensure that the drill bit is properly inserted and tightened in the chuck to guarantee a stable and accurate drilling process.
Spindle
The spindle is the rotating shaft that extends from the head and holds the chuck. It transfers the rotational motion from the motor to the drill bit, allowing it to penetrate the workpiece. The spindle is guided by bearings to minimize friction and ensure smooth operation. It’s vital to keep the spindle clean and properly lubricated to maintain its performance and extend its lifespan.
Quill
The quill is a movable part inside the head of the drill press that houses the spindle. It enables the vertical movement of the spindle and allows you to adjust the drilling depth. By raising or lowering the quill, you can control how deep the drill bit penetrates the material. The quill typically has depth markings or a depth stop mechanism that helps you achieve consistent and precise drilling depths for multiple holes.
Depth Stop
The depth stop is a feature that allows you to set a specific drilling depth and prevent the drill bit from going any further. It is usually controlled by a depth stop rod or lever located on the side of the head. By adjusting the depth stop, you can ensure that all your holes reach the desired depth consistently, making it ideal for repetitive drilling tasks or when drilling to a specific depth is critical.
Feed Handle
The feed handle is a rotating handle attached to the side of the head, and it controls the vertical movement of the quill and spindle. By turning the feed handle, you can raise or lower the quill to adjust the drilling depth. It’s important to operate the feed handle smoothly and evenly to avoid any jerky movements that can affect the accuracy of your drilling. Take your time and maintain a steady pace while feeding the drill bit into the material.
Laser Guide
The laser guide is a helpful feature on many modern drill presses. It projects a beam of laser light onto the workpiece, providing a visual reference for where the drill bit will make contact. This makes it easier to position and align the workpiece accurately before drilling. The laser guide enhances precision and reduces the chances of drilling mistakes. However, it’s important to note that the laser guide should not be solely relied upon for accuracy, and it’s always recommended to double-check your alignment before drilling.
In conclusion, understanding the different parts of a drill press is essential for effectively operating and utilizing this powerful tool. From the table to the laser guide, each component plays a crucial role in providing you with accurate and efficient drilling capabilities. By familiarizing yourself with these parts and their functions, you’ll be able to make the most of your drill press and achieve professional-level results in your woodworking projects. Remember to handle the drill press with care and always prioritize safety while working. Happy drilling!

