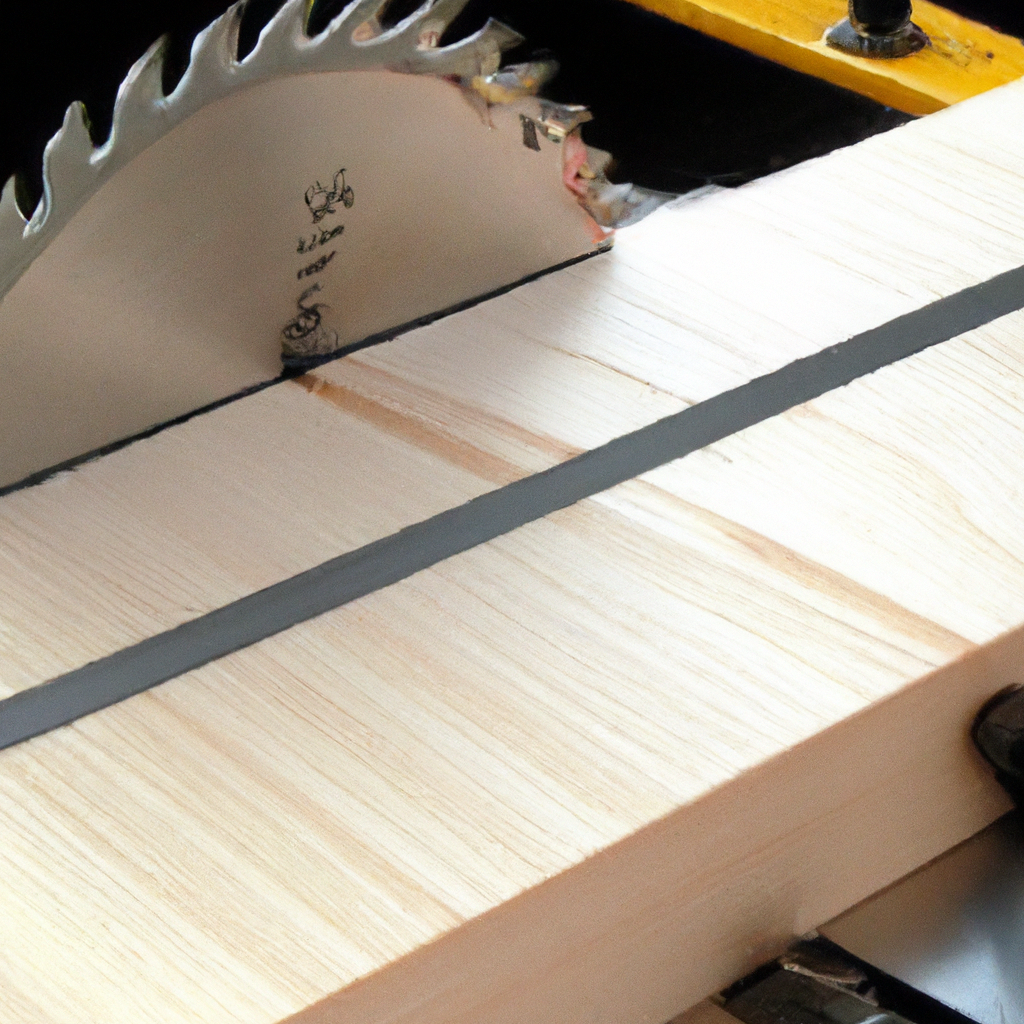
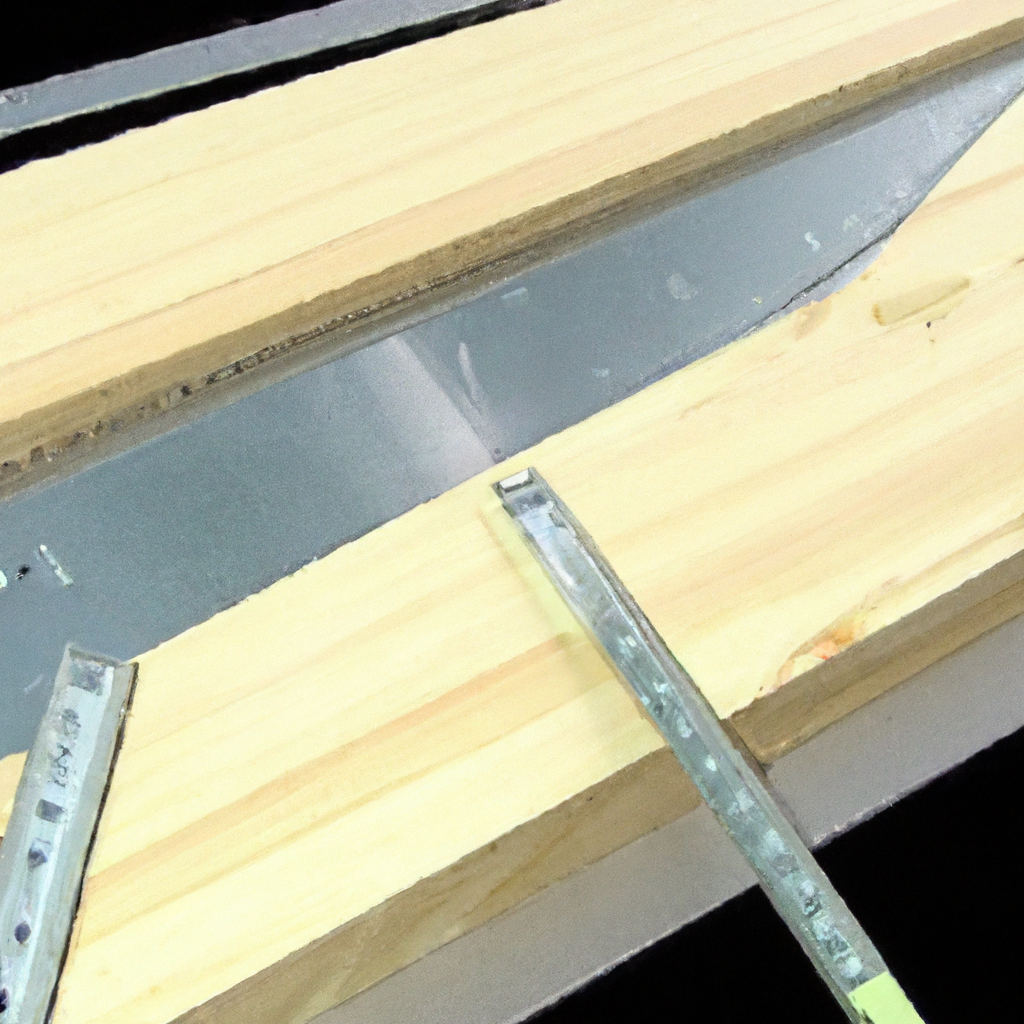
In this article, you will discover a step-by-step guide on how to create your very own table saw crosscut sled. If you’re an avid woodworker or simply enjoy DIY projects, this handy tool will revolutionize your cutting precision and ensure safety. With easy-to-follow instructions and simple materials, you’ll be able to build a crosscut sled that meets your specific needs and preferences. So, roll up your sleeves, grab your tools, and let’s get started on this exciting journey to enhance your woodworking skills. Get ready to elevate your woodworking game with the table saw crosscut sled!

Materials and Tools
Required Materials
To make a table saw crosscut sled, you will need the following materials:
- Plywood or another sturdy material for the base
- Fence material (such as hardwood or metal)
- Runners (plastic or hardwood)
- Non-slip material
- Blade guard materials
- Stop block material
Required Tools
To complete this project, you will need the following tools:
- Table saw
- Circular saw or jigsaw
- Sander or sandpaper
- Drill
- Screws or other fasteners
- Measuring tape
- Square
Preparing the Base
Choosing the Base Material
The base of your crosscut sled should be made of a sturdy material to ensure stability and durability. Plywood is a popular choice due to its affordability and availability. Select a plywood sheet with a thickness that suits your needs and the dimensions of your sled.
Cutting the Base to Size
Using either a circular saw or a jigsaw, cut the base material to the desired dimensions. A crosscut sled typically measures around 2 to 3 feet in length and is wide enough to accommodate the workpieces you plan to cut. Take precise measurements and use a straight edge or a square to ensure accurate cuts.
Sanding and Smoothing the Base
After cutting the base to size, it’s essential to smooth out any rough edges or imperfections. Use a sander or sandpaper to achieve a smooth surface. This step is critical as it will contribute to the overall performance of your sled, ensuring smooth movement across the table saw.

Assembling the Sled
Building the Fence
The fence is an essential component of the crosscut sled, providing a guide for your workpieces. It can be made from hardwood or metal, depending on your preference and the desired level of durability. Cut the fence material to the same length as the base, ensuring they are parallel to each other.
Attaching the Fence to the Base
To attach the fence to the base, drill pilot holes along the length of the fence and corresponding positions on the base. This will prevent the wood from splitting. Secure the fence to the base using screws or other fasteners. Be sure to align the fence perfectly parallel to one of the sled’s longer sides for accurate cuts.
Installing the Runners
The runners play a crucial role in the stability and smooth operation of the crosscut sled. Cut the runner material to fit the channels on your table saw’s surface. Plastic or hardwood are commonly used materials for runners. Attach the runners to the underside of the sled using screws or other suitable fasteners. Ensure the runners sit flush with the sled’s bottom to prevent any wobbling or instability.
Adding Safety Features
Applying Non-Slip Material to the Base
To further enhance the safety and stability of your crosscut sled, apply non-slip material to the base. This will help prevent your workpieces from shifting during cuts. You can use adhesive-backed sandpaper or rubberized drawer liner material. Cut the material to size and adhere it firmly to the sled’s surface.
Installing a Blade Guard
A blade guard is a crucial safety feature to protect your hands and fingers while using the crosscut sled. Craft a blade guard using suitable materials like clear acrylic or polycarbonate. Shape the guard to fit around the blade, ensuring it doesn’t obstruct your view of the workpiece. Install the guard securely to the sled, allowing easy removal and reattachment as needed.
Including a Stop Block
A stop block is a valuable addition to your crosscut sled, enabling precise and repeatable cuts. Cut a piece of material, such as hardwood or plywood, to serve as the stop block. Secure it to the sled’s fence, ensuring it sits perpendicular to the blade’s path. This stop block will allow you to make consistent cuts at a specific distance from the blade.

Calibrating the Sled
Checking Squareness
To ensure accurate cuts, it’s important to check the squareness of your crosscut sled. Use a square against the sled’s fence to verify if it forms a perfect 90-degree angle with the sled’s base. If you find any discrepancies, make necessary adjustments by loosening screws and repositioning the fence accordingly. Once squareness is achieved, tighten the screws.
Testing for Parallelism
In addition to squareness, it is crucial to test for parallelism between the sled’s fence and the saw blade. Place a long, straight board against the sled’s fence and extend it across the blade. Measure the distance between the board and the blade at various points along its length. Adjust the fence if needed to ensure the same consistent gap.
Using the Crosscut Sled
Setting Up the Sled for a Crosscut
Before making any cuts, ensure your crosscut sled is properly set up. Position the sled on your table saw’s surface, ensuring the runners fit snugly in the channels. Make any necessary adjustments to the fence and blade guard if needed. Prepare your workpiece by marking your desired cutline.
Making Crosscuts with the Sled
To make a crosscut using your sled, align the marked cutline with the fence. Hold the workpiece firmly against the fence and push the sled forward smoothly and steadily. Allow the blade to do the cutting while maintaining a firm grip on the sled. Once the cut is complete, carefully remove the newly-cut piece and repeat the process as needed.

Maintenance and Safety Tips
Regular Cleaning and Inspection
To keep your crosscut sled in optimal condition, make it a habit to clean it after each use. Remove any dust, debris, or sawdust that may accumulate on the sled’s surface or within the channels. Inspect the sled for any signs of wear or damage and address them promptly to ensure continued safety and performance.
Proper Handling and Storage
When not in use, store your crosscut sled in a dry and secure location to prevent any accidental damage. Avoid placing heavy objects on top of the sled, as this could potentially warp or distort the base. Handle the sled with care, especially when moving it to and from the table saw, to prevent any unnecessary strain on the components.
Common Mistakes and Troubleshooting
Misalignment Issues
One common mistake when constructing a crosscut sled is misaligning the fence. This can lead to inaccurate cuts. To troubleshoot this issue, loosen the screws attaching the fence to the base, realign it parallel to the blade, and tighten the screws securely. Remember to check for squareness and parallelism before making any adjustments.
Inaccurate Cuts
If you are experiencing inaccurate cuts with your crosscut sled, double-check the squareness and parallelism of the sled. Inaccurate measurements or improper positioning of the workpiece may also contribute to this issue. Ensure you are using a sharp blade and the appropriate cutting technique. Making sure the sled and workpiece are secure during the cut will help achieve precise results.
Problems with Runners
If your crosscut sled doesn’t slide smoothly across the table saw, the runners may be the culprit. Check if there are any obstructions or debris caught in the channels. Clean and lubricate the channels as needed. If the runners are worn or damaged, consider replacing them with new ones to ensure proper sliding and stability.

Alternative Designs and Modifications
Different Fence Designs
While a traditional fence design is commonly used for a crosscut sled, you may explore other variations depending on your personal preference or specific project requirements. Experimental designs, such as a dual-axis fence or a micro-adjustable fence, offer enhanced versatility and precision.
Adding a T-Track
Incorporating a T-track into your crosscut sled can provide additional functionality. A T-track allows for the attachment of various accessories like hold-down clamps or a stop block system. By bolting the T-track onto the sled’s base or fence, you can expand the capabilities of your sled and customize it to suit your woodworking needs.
Integrating a Miter Gauge
To further increase the versatility of your crosscut sled, consider integrating a miter gauge. With a miter gauge, you can make angled cuts with precision and confidence. By incorporating a miter slot onto your sled’s base and attaching a compatible miter gauge, you can achieve accurate compound cuts and miters.
Conclusion
A table saw crosscut sled is a valuable tool for any woodworker seeking precise and safe crosscuts. By carefully selecting materials, assembling the sled accurately, and adding essential safety features, you can create a reliable and efficient tool for your woodworking projects. Regular maintenance, proper usage, and troubleshooting techniques will ensure the longevity and excellent performance of your crosscut sled. Experimenting with alternative designs and modifications allows you to tailor the sled to your specific needs, expanding its capabilities and making it an invaluable addition to your workshop.

