You’re in need of a creative solution for your next DIY project, and you find yourself wondering, “Can you cut plexiglass with a table saw?” Well, you’re in luck! In this article, we’ll explore the possibilities of using a table saw to tackle this task. So, grab your safety goggles and let’s dive into the fascinating world of plexiglass cutting techniques!

Safety Precautions
Wearing protective gear
When working with a table saw or any power tool, it is essential to prioritize safety. To protect yourself from potential hazards, always wear appropriate protective gear. This includes safety goggles or a face shield to shield your eyes from flying debris, a dust mask to protect your lungs from the fine particles produced during cutting, and gloves to provide grip and prevent accidental cuts. Additionally, wear long sleeves and pants to cover your skin and sturdy footwear for stability.
Securing the plexiglass
Before you start cutting, securely fasten the plexiglass to prevent it from moving during the process. You can use clamps or double-sided tape to secure the material to the table saw’s surface. Making sure the plexiglass is firmly in place will ensure cleaner and safer cuts, preventing the risk of kickbacks or accidents.
Positioning the table saw
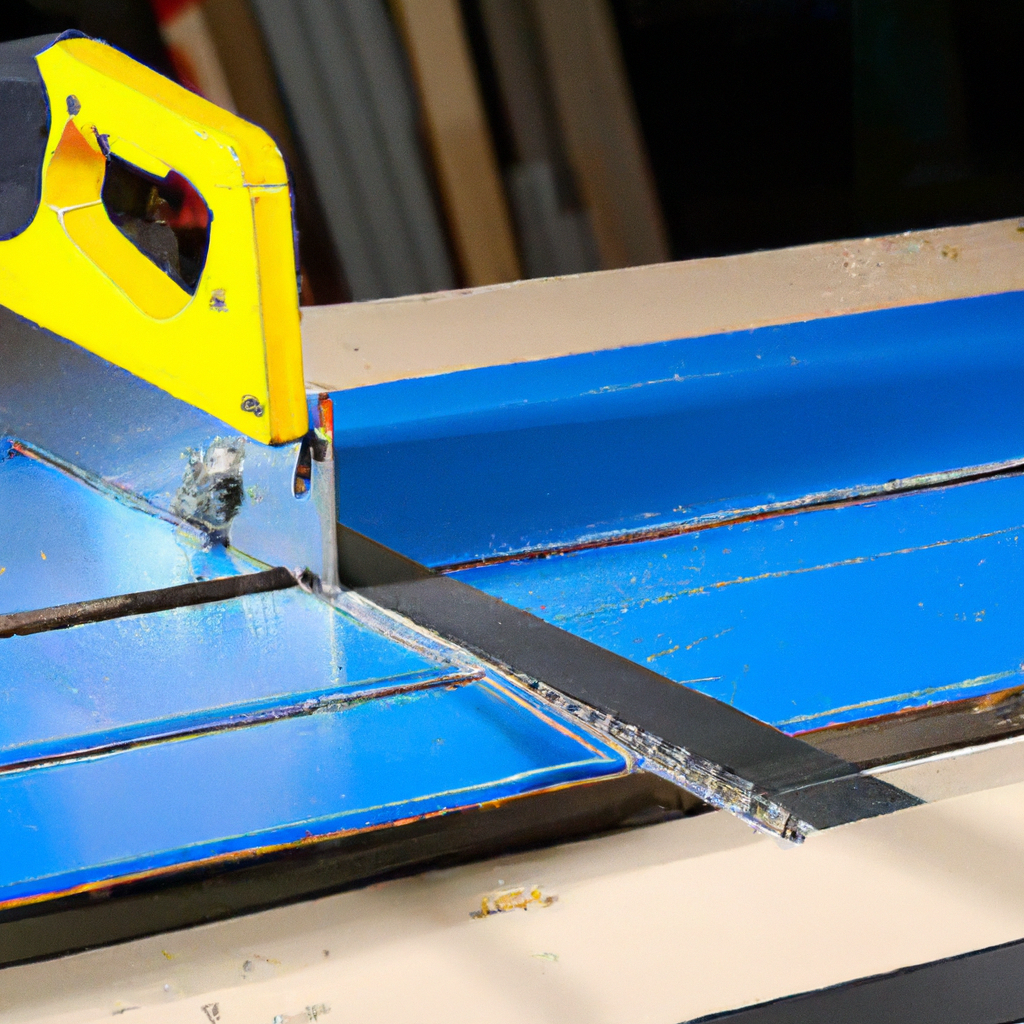
Properly positioning the table saw is crucial for your safety and the accuracy of your cuts. Ensure that the saw is positioned on a stable and level surface, with enough space for you to maneuver comfortably. It is also essential to have adequate lighting in your workspace to clearly see the cutting area and any potential hazards.
Choosing the Right Blade
Type of blade
When cutting plexiglass, it is important to use a blade specifically designed for cutting plastics. Avoid using standard wood-cutting blades as they may cause chipping and rough edges. Instead, opt for a carbide-tipped blade that has a higher tooth count and smaller gullets. These blades are specifically designed to cut through hard plastics, such as plexiglass, with minimal chipping and clean cuts.
Number of teeth
The number of teeth on a blade is another crucial factor to consider when cutting plexiglass. Blades with a higher tooth count, typically around 80 to 100 teeth, are ideal for achieving smoother cuts. The higher tooth count helps to minimize chipping and leave a clean edge. However, keep in mind that using blades with a higher tooth count may result in slower cutting speeds, so adjust the feed rate accordingly.
Tooth configuration
The tooth configuration of the blade can also impact the quality of your cuts. Blades with alternate top bevel (ATB) or triple-chip grind (TCG) teeth are commonly used for cutting plexiglass. ATB blades have alternating beveled teeth, providing cleaner crosscuts, while TCG blades have a combination of flat-top and beveled teeth, making them ideal for cutting harder plastics. Both tooth configurations can produce excellent results, so choose the one that suits your specific cutting needs.
Preparing the Table Saw
Adjusting the blade height
Before starting your cut, make sure to adjust the blade height accordingly. The general rule of thumb is to set the blade height slightly higher than the thickness of the plexiglass. This prevents the material from getting caught in the blade and causing kickback. Adjust the blade height using the adjustment wheel or knob on your table saw, following the manufacturer’s instructions.
Installing a zero-clearance insert
To reduce the risk of tear-out and splintering, consider installing a zero-clearance insert on your table saw. A zero-clearance insert provides additional support for the plexiglass and minimizes the gap between the blade and the table. This helps to prevent the material from vibrating or sagging during the cutting process, resulting in clean and precise cuts.
Setting the fence
Properly setting the fence on your table saw is essential for accurate and straight cuts. The fence acts as a guide for the plexiglass, ensuring that it maintains a consistent position while being cut. Align the fence parallel to the blade and lock it securely in place. Take extra care to avoid trapping the material between the fence and the blade, as this can lead to kickback or damage to the plexiglass.

Cutting Techniques
Straight cuts
When cutting straight lines in plexiglass, use a push stick or a push block to maintain a safe distance between your hands and the blade. Start by aligning the marked cut line with the blade, using the fence as a guide. Slowly push the plexiglass towards the blade, maintaining a steady and consistent pace. Avoid applying excessive force as it can cause the material to chip or crack. Continue feeding the plexiglass through the blade until the cut is complete.
Curved cuts
Cutting curves in plexiglass requires a different approach than straight cuts. Start by marking the desired curve on the plexiglass using a pencil or a marker. Using a jigsaw with a fine-tooth blade or a bandsaw, carefully follow the marked line. Take your time and maintain a steady hand, ensuring smooth and accurate cuts. Thicker plexiglass may require more passes to complete the cut, so be patient and avoid rushing the process.
Scribing and snapping
An alternative method for cutting straight lines in plexiglass is scribing and snapping. To scribe, use a sharp utility knife or a glass cutter to score the surface of the plexiglass along the marked cut line. Apply firm and consistent pressure while making the score, ensuring that it is deep enough to allow for a clean break. Once the plexiglass is scored, carefully position it on the edge of a table or a workbench and snap it downward to break it along the scored line. This method is suitable for thinner plexiglass sheets.
Managing Heat and Friction
Cooling the blade
Heat buildup can occur when cutting plexiglass, which can affect the quality of your cuts and potentially damage the material. To prevent excessive heat, keep the blade cool by using a blade cooling agent or lubricant specifically designed for cutting plastics. Apply the cooling agent to the blade periodically during the cutting process, ensuring that it reaches the cutting area. This will help dissipate heat and extend the life of your blade.
Using lubricants
Applying a lubricant, such as WD-40 or a silicone-based lubricant, to the plexiglass surface can reduce friction between the material and the blade. The lubricant creates a slippery surface, allowing the blade to cut through the plexiglass more smoothly. Apply the lubricant directly to the surface of the plexiglass before starting the cut, and periodically apply more as needed to maintain smooth cutting.
Controlling feed rate
Controlling the feed rate of the plexiglass can also help manage heat and friction. Pushing the material too quickly or forcefully into the blade can generate excessive heat and cause the plexiglass to melt or chip. Conversely, feeding the material too slowly can cause the blade to bind and lead to uneven cuts. Find a pace that allows the blade to cut smoothly without generating excessive heat. Experimenting with different feed rates will help you achieve optimal results.
Avoiding Chipouts and Splintering
Using masking tape
To minimize chipouts and splintering during the cutting process, apply masking tape along the marked cut line. The tape provides additional support and stability to the plexiglass, reducing the likelihood of the material chipping or splintering. Ensure the tape is firmly pressed onto the surface, then proceed with the cut as usual. Once the cut is complete, gently peel off the masking tape to reveal a clean and smooth edge.
Making scoring cuts
If you find that chipouts or splintering still occur despite using masking tape, consider making scoring cuts before the final cut. Using a utility knife or a glass cutter, lightly score the plexiglass along the marked cut line without cutting all the way through. This initial scoring cut weakens the surface, allowing for cleaner and smoother cuts when the final cut is made.
Backing up the plexiglass
Another technique to prevent chipouts and splintering is to use a sacrificial backing material. Place a piece of scrap wood or a sacrificial plastic sheet behind the plexiglass, aligned with the marked cut line. As the blade cuts through the plexiglass, it will also cut into the sacrificial backing material, preventing chipouts and providing additional support. This method is particularly useful when cutting thin or fragile plexiglass.
Finishing the Cut
Removing saw marks
After the cut is complete, you may notice saw marks or rough edges on the plexiglass. To remove these marks and achieve a smoother finish, use sandpaper or a sanding block. Start with a coarser grit sandpaper and gradually work your way up to a finer grit. Sand along the cut edge in a smooth, circular motion until the saw marks are eliminated and the edge feels smooth to the touch.
Smoothing the edges
If the edges of the plexiglass are rough or uneven, use a router with a flush-trim bit or a handheld file to smooth them out. A router will provide a clean and smooth edge, while a handheld file allows for more precise control over shaping and smoothing. Work carefully and evenly along the edges, ensuring a uniform finish.
Deburring
To further enhance the appearance and safety of the cut edges, deburring is necessary. Use a deburring tool or a chamfering bit in a router to remove any sharp or rough edges. Gently run the tool along the cut edge, beveling it slightly to create a smooth and safe finish. Pay special attention to corners and tight spaces to ensure that they are adequately deburred.
Alternative Methods
Using a jigsaw
If you are not comfortable using a table saw or need to cut intricate shapes, a jigsaw can be a suitable alternative. Choose a fine-tooth blade designed for cutting plastics and set the jigsaw to a medium speed. Securely clamp the plexiglass to a workbench or a sawhorse and carefully guide the jigsaw along the marked cut line. Use a slow and steady motion to ensure clean and accurate cuts.
Using a circular saw
Another alternative to using a table saw is a circular saw. Attach a fine-tooth blade designed for cutting plastics to the circular saw and set the blade depth slightly deeper than the thickness of the plexiglass. Clamp the plexiglass securely and guide the circular saw along the marked cut line, using a straight edge or a guide to ensure a straight cut. Exercise caution and wear appropriate protective gear when using a circular saw.
Using a router
For more intricate cuts or decorative edges, a router can be a versatile tool for cutting plexiglass. Attach a straight bit or a flush-trim bit to the router and secure the plexiglass to a workbench or a router table. Adjust the cutting depth to match the thickness of the plexiglass and slowly guide the router along the marked cut line or desired shape. Ensure a secure grip on the router and use appropriate safety measures, such as wearing safety goggles and a dust mask.
Post-Cutting Considerations
Cleaning the plexiglass
After the cutting process, it is essential to clean the plexiglass to remove any dust or debris. Use a mild detergent and warm water to clean the surface thoroughly. Gently scrub the plexiglass with a soft cloth or sponge, then rinse it with clean water and wipe it dry with a lint-free cloth. Avoid using abrasive or harsh cleaning agents as they can damage the plexiglass.
Polishing the edges
To achieve a polished and glossy finish on the cut edges, consider using a polishing compound specifically designed for plexiglass. Apply a small amount of the compound to a clean cloth and gently buff the edges in a circular motion. Continue buffing until the edges are smooth and have a polished appearance. This step is optional but can enhance the aesthetics of your finished project.
Testing the fit
Once the plexiglass is cut and finished, it is crucial to test the fit if it is part of a larger project or installation. Carefully place the cut plexiglass in the intended position and check if it fits snugly and aligns properly. If needed, make any necessary adjustments, such as trimming or sanding, to achieve the desired fit. Taking the time to test the fit will ensure that your project is completed accurately and meets your expectations.
Conclusion
With the right precautions, tools, and techniques, you can safely and effectively cut plexiglass using a table saw. Remember to prioritize safety by wearing protective gear, securing the plexiglass, and positioning the saw correctly. Choose the appropriate blade and adjust the table saw accordingly. Explore different cutting techniques based on your project requirements, and manage heat, friction, and potential chipouts or splintering. Once the cuts are made, finish the edges with sandpaper, a router, or other appropriate tools. Consider alternative cutting methods if necessary, and always clean and test the fit of the cut plexiglass before finalizing your project. By following these comprehensive guidelines, you can confidently and skillfully work with plexiglass using a table saw.