In this article, you will learn the simple yet crucial steps to check the alignment of your table saw blade. Ensuring that your blade is properly aligned is essential for safe and accurate woodworking. By following these straightforward instructions, you will gain the confidence to identify and correct any alignment issues, allowing you to enjoy precise and clean cuts in your future projects. So let’s get started and make sure your table saw is performing at its best!

1. Visual Check
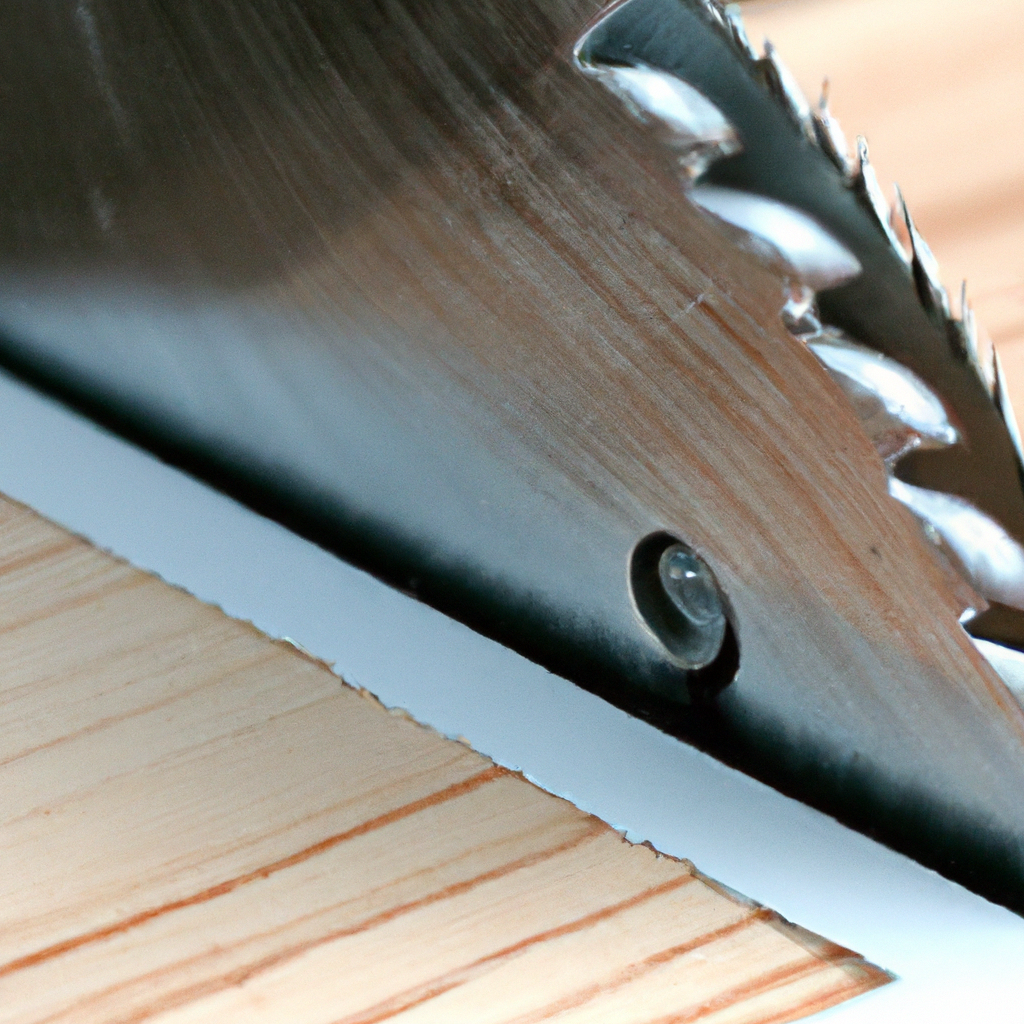
Before starting any maintenance or adjustments on your table saw, it is important to visually inspect the machine for any loose or misaligned parts. Check that all components are properly secured and aligned according to the manufacturer’s specifications. Pay close attention to the blade and arbor, as well as any visible signs of pitch buildup. Additionally, check for any warping or deflection in the blade itself. By performing a thorough visual check, you can identify any potential issues that may affect the accuracy and performance of your table saw.
1.1 Check for Loose or Misaligned Parts
Start by thoroughly inspecting the entire table saw for any loose or misaligned parts. Check that all bolts, screws, and nuts are securely tightened. Pay close attention to the blade guard, riving knife, and anti-kickback pawls, ensuring they are properly aligned and functioning correctly. Look for any signs of wear or damage on these components and replace them if necessary. By ensuring that all parts are securely fastened and aligned, you can prevent accidents and ensure accurate cuts.
1.2 Inspect the Blade and Arbor for Damage
Carefully examine the blade and arbor for any signs of damage or wear. Look for chips, cracks, or missing teeth on the blade. If you notice any damage, replace the blade immediately to ensure safe operation and accurate cuts. Inspect the arbor for any signs of wear or damage, such as excessive play or wobbling. If you detect any issues with the arbor, it may need to be replaced or repaired by a professional.
1.3 Look for Excessive Pitch Buildup
Pitch buildup on the blade can affect the performance and accuracy of your table saw. Examine the blade for excessive pitch buildup, which can cause rough cuts and potentially kickback. Use a cleaning solution specifically designed for removing pitch to clean the blade thoroughly. Make sure to follow the manufacturer’s instructions for safe and effective cleaning.
1.4 Check the Blade for Warping or Deflection
Inspect the blade for any signs of warping or deflection. Lay it flat on a clean, level surface and look for any gaps between the blade and the surface. A warped or deflected blade can result in inaccurate cuts and potential safety hazards. If you notice any issues with the blade, consider replacing it with a new one to ensure precise and safe cutting operations.
2. Measuring Blade Parallelism
Blade parallelism refers to how closely the blade aligns with the miter slot on your table saw. It is essential to have the blade parallel to the slot to ensure accurate and consistent cuts. Here are the steps to measure and adjust blade parallelism:
2.1 Ensure the Table is Clean and Free of Debris
Before measuring blade parallelism, clean the table surface thoroughly to eliminate any debris or sawdust that may affect the accuracy of the measurement. Use a vacuum or compressed air to remove any particles that could interfere with the process.
2.2 Use a Measuring Tool to Check the Blade Parallelism
To measure blade parallelism, you will need a reliable measuring tool, such as a dial indicator or a digital caliper. Start by placing the measuring tool’s base against the miter slot and zero the gauge. Then, gently rotate the blade by hand to bring each tooth in contact with the measuring tool. Take note of the readings at multiple points around the blade circumference.
If you notice significant variations in the readings, it indicates that the blade is not parallel to the miter slot. To adjust the blade parallelism, refer to your table saw’s user manual for specific instructions. Most table saws have adjustment screws or mechanisms that allow you to fine-tune the blade alignment. Make small adjustments and recheck the blade parallelism until you achieve consistent readings.
3. Checking Blade Squareness to the Miter Slot
Ensuring that the blade is square to the miter slot is crucial for accurate crosscuts and mitered cuts. Here’s how to check the blade squareness:
3.1 Adjust the Blade Tilt to 0 Degrees
Before checking blade squareness, make sure the blade is tilted to 0 degrees. This ensures that any discrepancies in squareness are not influenced by an incorrect blade tilt angle.
3.2 Measure the Distance Between the Blade Teeth and the Miter Slot at the Front
Position a reliable measuring tool against the miter slot at the front of the table saw. Slide it towards the blade, keeping it in contact with the blade teeth. Take note of the distance between the measuring tool and the miter slot. Repeat this process at multiple points along the blade to ensure accurate measurements.
3.3 Measure the Distance Between the Blade Teeth and the Miter Slot at the Rear
Repeat the measurement process described in step 3.2, but this time measure the distance between the blade teeth and the miter slot at the rear of the table saw. Again, take note of the measurements at different points along the blade.
3.4 Adjust the Blade Squareness as Necessary
Compare the measurements obtained at the front and rear of the blade. If you notice a discrepancy between the two, it indicates that the blade is not square to the miter slot. To adjust the blade squareness, consult your table saw’s user manual for specific instructions. Most table saws have adjustment screws or mechanisms that allow you to fine-tune the blade squareness. Make small adjustments and recheck the measurements until the blade is square to the miter slot.

4. Verifying Fence Alignment
The fence plays a crucial role in ensuring accurate and straight cuts on a table saw. Here’s how to verify fence alignment:
4.1 Ensure the Fence is Parallel to the Miter Slot
Start by checking the alignment of the fence relative to the miter slot. Place a reliable measuring tool against the miter slot at the front and rear of the table saw. Slide it towards the fence, keeping it in contact with the measuring surface. Take note of the distance between the measuring tool and the fence at multiple points along the table’s length.
If you notice variations in measurements, it indicates that the fence is not parallel to the miter slot. To adjust the fence alignment, consult your table saw’s user manual for specific instructions. Most table saws have adjustment mechanisms for aligning the fence. Make small adjustments and recheck the measurements until the fence is parallel to the miter slot.
4.2 Check the Fence Squareness to the Blade
After ensuring that the fence is parallel to the miter slot, you need to verify its squareness to the blade. Place a reliable square against the fence and the blade. Adjust the fence as necessary to ensure that it is perfectly perpendicular to the blade.
4.3 Align the Fence as Required
If the fence is out of alignment, consult your table saw’s user manual for instructions on adjusting the fence. Make small adjustments and verify the alignment with a square until the fence is perfectly square to the blade. This ensures accurate and consistent cuts when using the fence as a guide.
5. Testing Blade Angle Accuracy
Having a precise blade angle on your table saw is essential for making accurate bevel cuts. Here’s how to test the blade angle accuracy:
5.1 Set the Blade to a Known Angle
Start by setting the blade to a known angle, such as 45 degrees. Use the angle adjustment mechanism on your table saw to set the desired angle accurately. Ensure that the bevel lock is securely tightened to maintain the chosen angle.
5.2 Use a Digital Angle Gauge to Verify the Blade Angle
To verify the accuracy of the blade angle, use a digital angle gauge. Place the gauge flat against the blade and ensure that it is securely in contact with the blade surface. The gauge will display the precise angle of the blade. Compare the displayed angle with the angle you set on the table saw.
If there is a discrepancy between the set angle and the measured angle, you may need to recalibrate or adjust your table saw’s bevel angle mechanism. Refer to your table saw’s user manual for specific instructions on adjusting the blade angle.
6. Assessing Blade Height
Proper blade height is crucial for achieving clean, precise cuts on your table saw. Here’s how to assess the blade height:
6.1 Set the Blade Height to the Desired Measurement
Using the height adjustment mechanism on your table saw, set the blade height to the desired measurement. This measurement will depend on the type of cut you are making and the thickness of the material being cut.
6.2 Use a Measuring Tool to Verify the Blade Height
To verify the accuracy of the blade height, use a reliable measuring tool, such as a digital caliper or a height gauge. Place the measuring tool against the blade teeth and ensure it is securely in contact with the teeth. Verify that the height measurement matches the one you set on the table saw.
If there is a discrepancy between the set height and the measured height, you may need to adjust or recalibrate your table saw’s height adjustment mechanism. Refer to your table saw’s user manual for specific instructions.
7. Ensuring Blade Stability
A stable blade is essential for safe and precise operation of your table saw. Here are some steps to ensure blade stability:
7.1 Tighten the Blade Arbor Properly
Check that the blade arbor is securely tightened. Use the arbor wrench provided with your table saw to tighten the arbor nut firmly. Ensure that the arbor nut is tightened according to the manufacturer’s specifications. A loose or improperly tightened arbor can result in blade wobbling or instability, leading to inaccurate cuts and potential safety hazards.
7.2 Check for Excessive Vibration or Wobbling
Turn on your table saw and listen for any unusual noises or vibrations. Excessive vibration or wobbling can indicate a problem with the blade or arbor. If you notice any abnormal vibration, turn off the saw immediately and consult a professional for further inspection and repairs.
7.3 Inspect the Arbor for Any Issues
Regularly inspect the arbor for signs of wear, damage, or excessive play. Look for any unusual noise or movement when the blade is spinning. If you notice any issues with the arbor, such as play or wobbling, it may need to be replaced or repaired by a professional. A stable arbor is crucial for safe and accurate cutting operations.
8. Regular Maintenance and Calibration
To keep your table saw performing optimally and maintain its accuracy, regular maintenance and calibration are essential. Here are some important maintenance tasks:
8.1 Clean the Table Saw Regularly
Sawdust, debris, and pitch buildup can affect the performance and accuracy of your table saw. Regularly clean the table surface, fence, blade, and all other parts of the table saw. Use a vacuum, compressed air, or a brush to remove sawdust and debris. For pitch buildup on the blade, use a cleaning solution specifically designed for that purpose.
8.2 Lubricate Moving Parts as Recommended by the Manufacturer
Proper lubrication of moving parts helps reduce friction and ensures smooth operation. Refer to your table saw’s user manual for specific guidelines on lubrication. Use lubricants recommended by the manufacturer and follow the recommended intervals for lubrication.
8.3 Check and Adjust the Alignment Periodically
Regularly check the alignment of the blade, fence, and other critical components of your table saw. Follow the procedures outlined in this article to ensure proper alignment. Make necessary adjustments as required to maintain accuracy and safety.
9. Safety Considerations
When performing any checks or adjustments on your table saw, safety should always be a top priority. Here are some safety considerations to keep in mind:
9.1 Always Disconnect Power Before Performing Any Checks or Adjustments
Before starting any maintenance or adjustment tasks, ensure that the table saw is turned off and disconnected from the power source. This prevents accidental startup and reduces the risk of electrical shock.
9.2 Wear Appropriate Safety Gear
When working with a table saw, always wear safety gear such as safety glasses, hearing protection, and appropriate clothing. This protects your eyes, ears, and body from potential hazards, such as flying debris or accidental contact with the blade.
10. Seeking Professional Assistance
If you encounter persistent alignment issues or are unsure how to perform adjustments on your table saw, it is always recommended to consult a professional. An experienced technician can properly diagnose and address any problems with your table saw. Additionally, consider the age and condition of your table saw. If it is old or in poor condition, it may be more cost-effective to invest in a new, reliable table saw that meets your needs.
By following these steps for checking and maintaining the alignment of your table saw’s blade, fence, and other components, you can ensure accurate and safe cutting operations. Regular inspection, adjustment, and maintenance will help prolong the life of your table saw and enhance its performance. Remember to always prioritize safety when working with power tools and seek professional assistance whenever necessary.