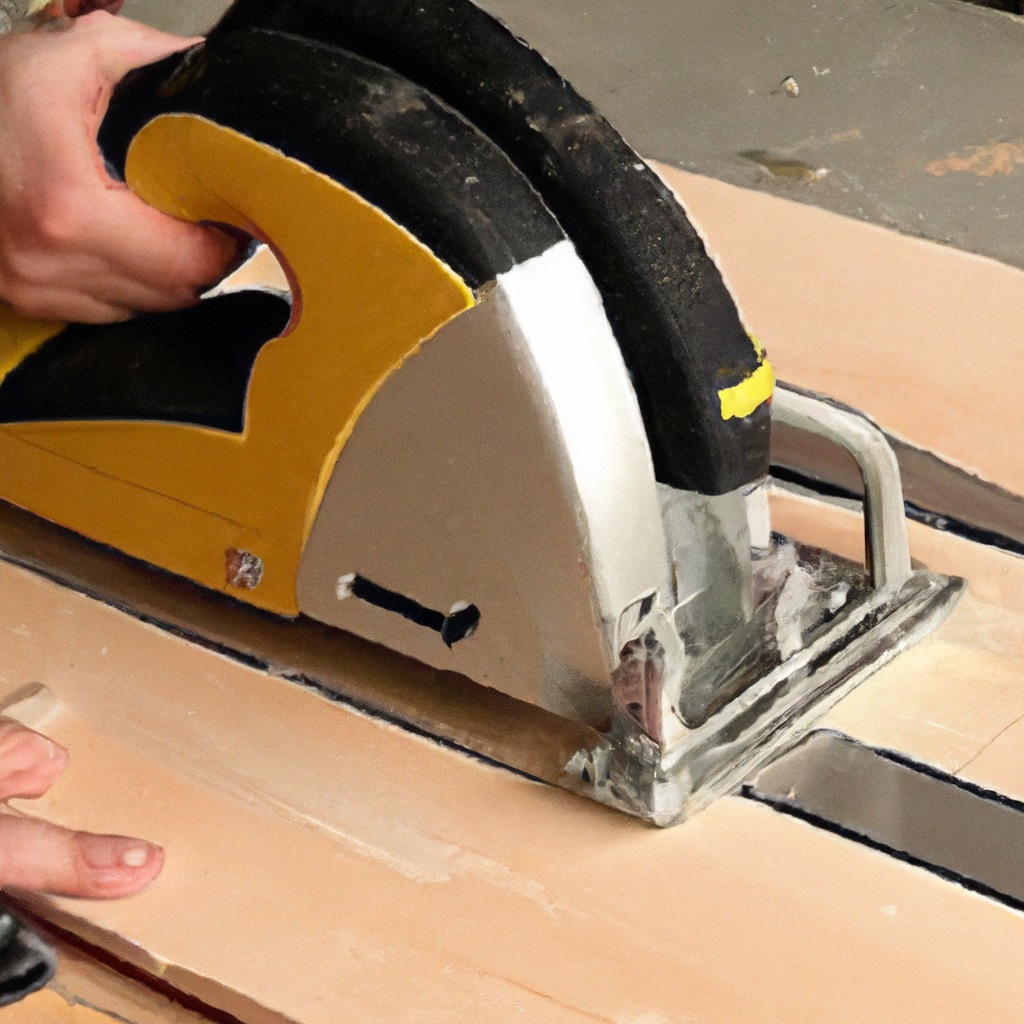
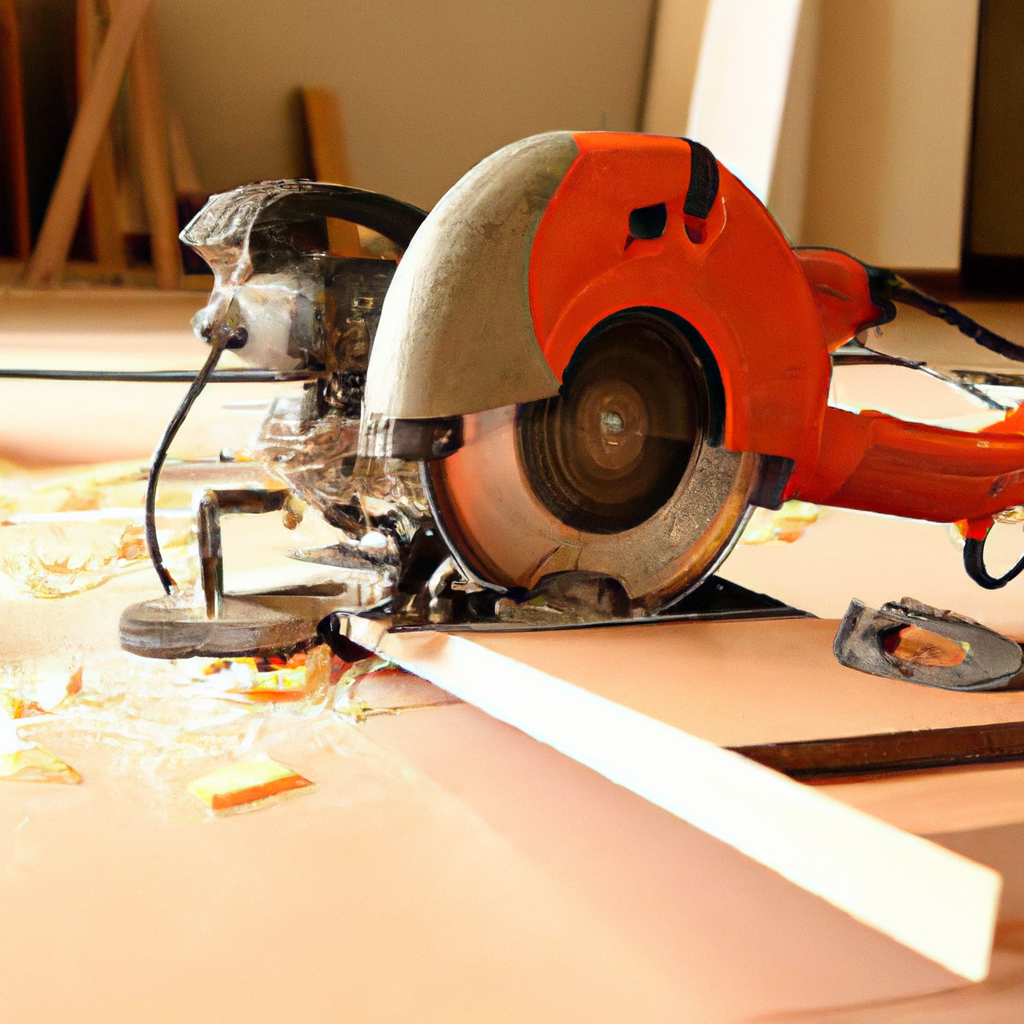
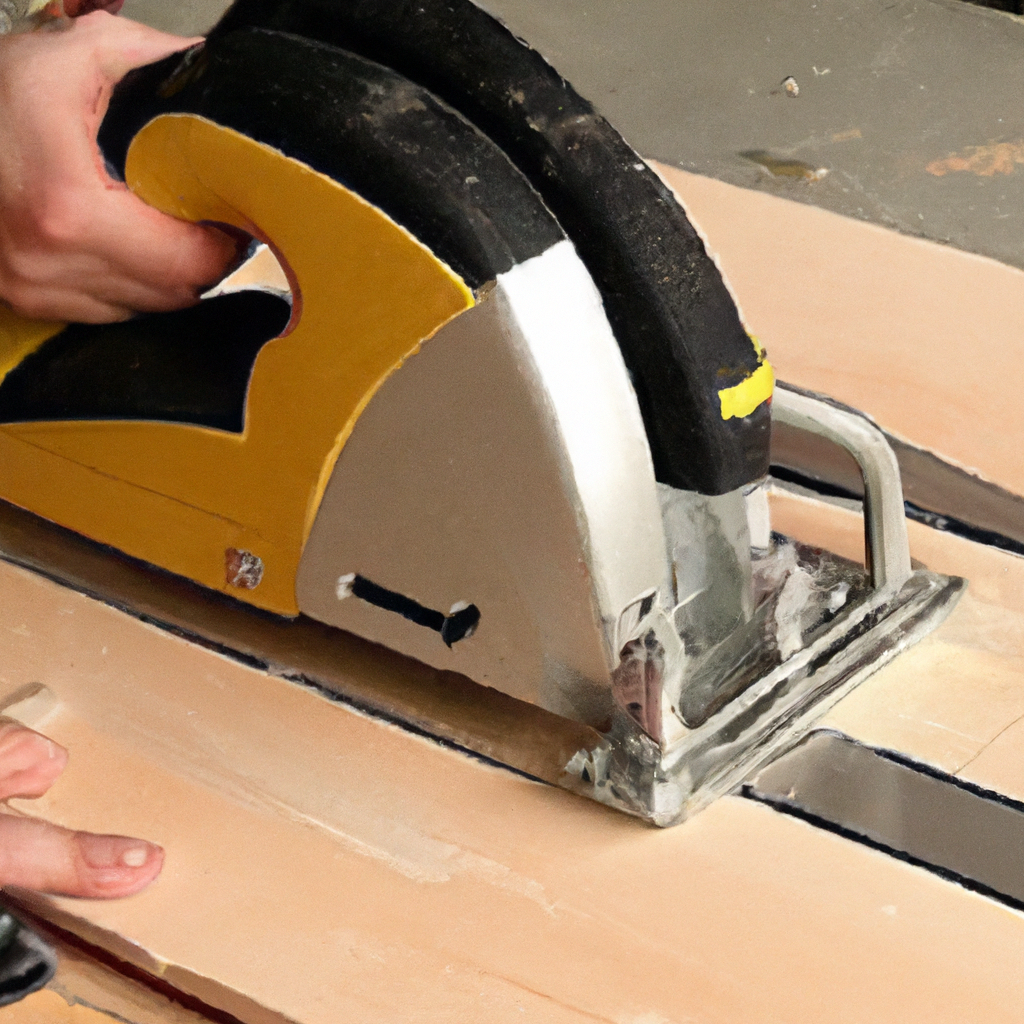
So you’ve got a vinyl flooring project on your hands and you’re wondering if a table saw can do the trick? Well, you’re in luck! In this article, we’re going to explore the possibility of cutting vinyl flooring with a table saw. Whether you’re a DIY enthusiast or a professional contractor, we’ll provide you with all the information you need to know before deciding whether this cutting method is right for you. So grab a cup of coffee, sit back, and let’s delve into the world of vinyl flooring and table saws!

Overview
In this comprehensive article, we will explore the benefits of using a table saw for cutting vinyl flooring. We will guide you through the entire process, from preparation to techniques for cutting vinyl flooring, joining vinyl flooring pieces, safety precautions, common mistakes to avoid, and maintenance and cleanup. By the end of this guide, you will have all the knowledge you need to confidently and efficiently cut vinyl flooring with a table saw.
Benefits of Using a Table Saw
Using a table saw for cutting vinyl flooring offers several advantages. Firstly, table saws provide precise and accurate cuts, ensuring clean and professional-looking results. The stability and control offered by a table saw make it ideal for cutting vinyl flooring, which requires precision to fit perfectly. Additionally, table saws allow for straight, curved, and angled cuts, making it versatile for various vinyl flooring installation requirements.
Preparation
Before starting any project, proper preparation is crucial. When it comes to cutting vinyl flooring with a table saw, there are a few key steps you should take to ensure successful results.
Gathering Materials
Begin by gathering all the necessary materials. Apart from the table saw itself, you will need vinyl flooring, a measuring tape, a pencil or chalk, a straight edge, safety goggles, and ear protection.
Measuring and Marking
Accurate measurements are essential for a precise fit of your vinyl flooring. Measure the area where the vinyl flooring will be installed, considering any obstructions or corners. Transfer these measurements onto the vinyl flooring using a straight edge and a pencil or chalk. Double-check your measurements before proceeding.
Setting Up the Table Saw
Once you have your materials ready, it’s time to set up the table saw. Ensure the table saw is on a stable surface, and adjust the blade height according to the thickness of your vinyl flooring. Make sure the blade is parallel to the miter gauge slots for accurate and safe cuts. Additionally, check that the fence is properly aligned and securely tightened in place.

Choosing the Right Blade
Selecting the right blade for cutting vinyl flooring is crucial to achieve clean and precise cuts. For vinyl flooring, it is recommended to use a blade with fine teeth, preferably 60 to 80 teeth per inch (TPI). These blades have a higher tooth count, resulting in smoother cuts and reduced risks of chipping or tearing the vinyl material.
Safety Precautions
Safety should always be a top priority when working with power tools, including table saws. Here are some essential safety precautions to keep in mind:
Wearing Eye and Ear Protection
Before you begin using the table saw, put on safety goggles or a face shield to protect your eyes from flying debris. Additionally, wear ear protection such as earmuffs or earplugs to reduce the risk of hearing damage caused by the loud noise of the table saw.
Using a Push Stick
To maintain a safe distance from the blade and avoid potential injury, always use a push stick when cutting vinyl flooring on a table saw. A push stick allows you to keep your hands at a safe distance from the blade while still maintaining control and ensuring a smooth cut.
Avoiding Contact with Blades
When cutting vinyl flooring, it is crucial to never come in direct contact with the blades. Always feed the vinyl material into the blade using a push stick or other appropriate tools. Touching the blade with your hands can lead to severe injuries, so exercise caution at all times.
Techniques for Cutting Vinyl Flooring with a Table Saw
Now that you have taken the necessary safety precautions and prepared the table saw, it’s time to learn some techniques for cutting vinyl flooring.
Straight Cuts
To make straight cuts on vinyl flooring, set the fence on the table saw at the desired distance from the blade. Hold the vinyl material securely and gently push it through the blade, making sure to use a push stick to maintain a safe distance. Allow the blade to do the work and avoid rushing the cut. Keep your hands steady and maintain control throughout the process for clean and precise results.
Curved Cuts
Cutting curved shapes on vinyl flooring requires a different technique. Start by marking the curve you want to cut on the vinyl material using a pencil or chalk. Then, using a jigsaw or coping saw, carefully cut along the marked line, following the natural curve. Take your time and make steady, controlled movements to achieve smooth and accurate curved cuts.
Angled Cuts
For angled cuts, adjust the miter gauge on the table saw to the desired angle. Securely hold the vinyl material and gently guide it through the blade, using a push stick as needed. Pay close attention to the angle and maintain control throughout the cut to achieve precise results.
Joining Vinyl Flooring Pieces
When installing vinyl flooring, you may need to join multiple pieces together. Here are three common joining techniques:
Butt Joint
A butt joint involves simply placing the cut ends of two vinyl flooring pieces together. To create a seamless and secure joint, use a vinyl flooring adhesive to bond the pieces together. Apply the adhesive according to the manufacturer’s instructions and ensure a tight fit between the pieces.
Miter Joint
A miter joint is commonly used for joining two vinyl flooring pieces at a 45-degree angle. This joint provides a clean and visually appealing finish, especially at corners. Start by cutting each piece at a 45-degree angle using the table saw. Apply adhesive to the cut ends and join them together, ensuring a precise fit.
Tongue and Groove Joint
A tongue and groove joint involves a specialized interlocking mechanism that connects the vinyl flooring pieces securely. This joint provides strength and stability to the installation. To create a tongue and groove joint, use a router or specialized flooring tools to cut the necessary grooves and tongues in the vinyl flooring pieces. Apply adhesive to the grooves and insert the tongues, pressing the pieces tightly together.
Common Mistakes to Avoid
While cutting vinyl flooring with a table saw, it is important to be aware of common mistakes that can lead to subpar results or accidents. Here are a few common errors to avoid:
- Rushing the cutting process: Take your time and work at a comfortable pace to ensure accuracy and safety.
- Using the wrong blade: Using a blade with too few teeth or a coarse tooth count can result in rough cuts or damage to the vinyl material.
- Not wearing proper safety gear: Always wear safety goggles, ear protection, and other necessary protective equipment to minimize the risk of injury.
- Neglecting to double-check measurements: Accurate measurements are essential for a precise fit, so make sure to double-check your measurements before cutting.
Maintenance and Cleanup
After completing your vinyl flooring cutting project, it is important to properly maintain and clean your table saw. Remove any dust, debris, or vinyl remnants from the saw’s surface, blade, and surrounding area. Regularly check the blade for any signs of wear or damage and replace it if necessary. Keep your table saw in good working condition to ensure optimal performance for future projects.
Conclusion
In conclusion, cutting vinyl flooring with a table saw offers numerous benefits, including precise cuts, versatility in cutting techniques, and efficient results. By following the proper preparation steps, selecting the right blade, taking necessary safety precautions, and using the recommended cutting techniques, you can achieve clean and professional-looking cuts. Remember to avoid common mistakes, properly maintain your table saw, and prioritize safety at all times. With these guidelines and the right tools, you can confidently tackle vinyl flooring projects with ease.

