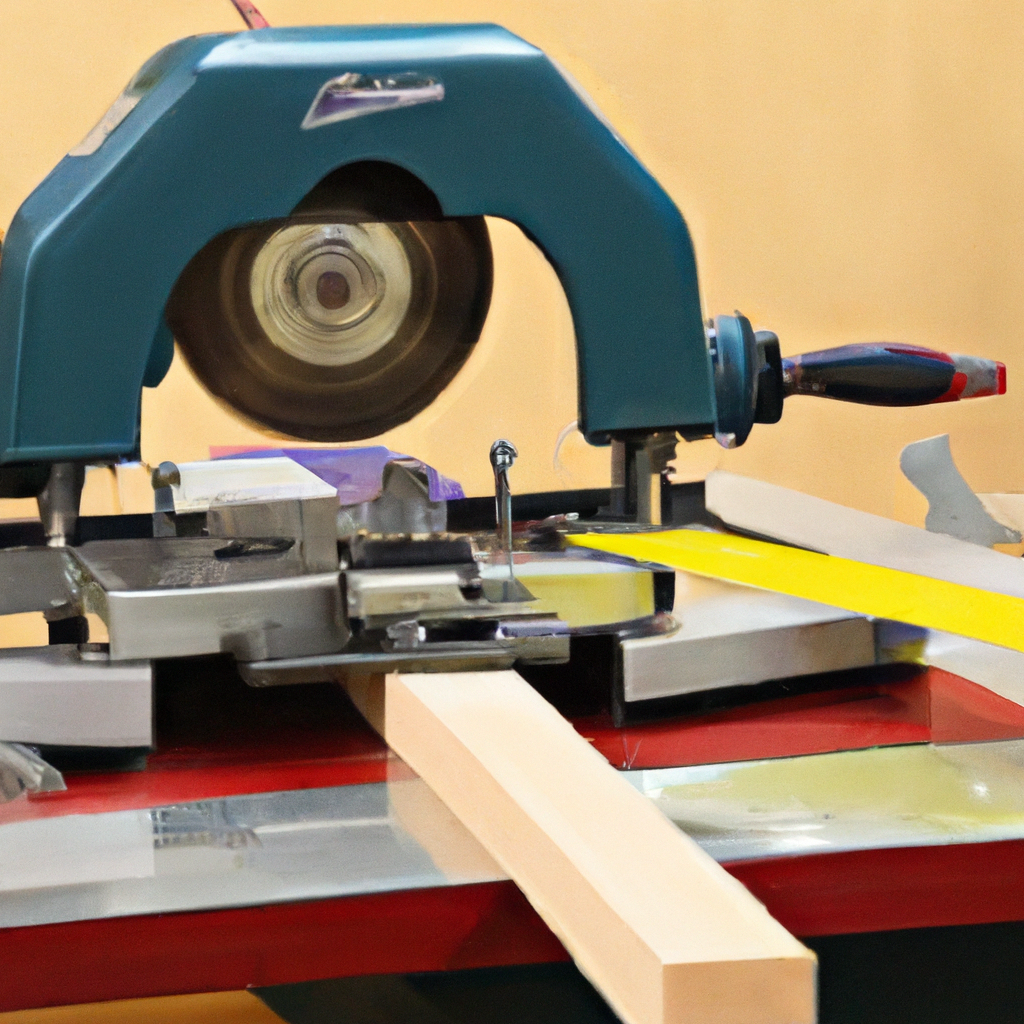
Are you looking to save space and money in your woodworking workshop? Look no further! In this article, we will show you an innovative technique for using a table saw as a jointer. By utilizing your table saw in this way, you can achieve straight and perfectly squared edges on your wood pieces, without the need for an additional jointer machine. With our step-by-step instructions, you’ll be able to elevate your woodworking skills to new heights, all while maximizing your workshop’s efficiency. So, grab your table saw and let’s get started on this exciting woodworking adventure!

Safety Measures
Wear protective equipment
When using a table saw, it is essential to prioritize safety. This begins with wearing the proper protective equipment, such as safety goggles, ear protection, and a dust mask. Safety goggles will protect your eyes from flying debris, while ear protection will help prevent hearing damage from the loud noise of the saw. Additionally, a dust mask will help you avoid inhaling sawdust, ensuring your respiratory health.
Ensure proper workspace setup
Before using a table saw, it is crucial to set up your workspace correctly. Start by clearing the area around the table saw, removing any tripping hazards or clutter. Ensure that the saw is placed on a stable and level surface, as this will prevent any movement or instability during use. It is also essential to have sufficient lighting in your workspace to ensure clear visibility of the saw and your workpiece.
Check the saw for any damages
Before beginning any woodworking project, it is essential to inspect your table saw for any damages or malfunctions. Check for loose parts, damaged cords, or any signs of wear and tear. Ensure that all safety features of the table saw, such as the blade guard and riving knife, are in proper working condition. If you notice any issues or concerns, it is best to resolve them before using the table saw to ensure safe operation.
Securely fasten the workpiece
To safely use the table saw as a jointer, it is crucial to securely fasten the workpiece. This will prevent any movement or shifting during the cutting process, ensuring accurate and precise cuts. You can use clamps or other securing devices specifically designed for woodworking to secure the workpiece firmly in place. By taking this precaution, you minimize the risk of kickback or other accidents while using the table saw.
Preparing the Table Saw
Choose the correct blade
Selecting the appropriate blade for your table saw is an important step in the jointing process. It is recommended to use a rip-cutting blade with a high number of teeth, as this will provide cleaner and smoother cuts. The blade should also be sharp to ensure precise and efficient cutting. Take the time to check the blade condition and replace it if necessary before proceeding.
Adjust the blade height
Before using the table saw, it is essential to adjust the blade height to ensure optimal cutting performance. The blade should be set just above the thickness of the workpiece, allowing for a clean and accurate cut. Avoid setting the blade too high, as this can increase the risk of kickback or other accidents. Refer to the manufacturer’s instructions for your specific table saw model on how to adjust the blade height properly.
Align the table saw fence
Proper alignment of the table saw fence is crucial for accurate jointing. Ensure that the fence is parallel to the saw blade and aligned with the desired cutting path. You can use a combination square or a measuring tape to verify the alignment. If necessary, adjust the fence by loosening the bolts and realigning it to achieve precise and straight cuts. A well-aligned fence will contribute to the overall quality of your jointed edges.

Using the Table Saw
Using a table saw as a jointer involves a series of steps that, when followed correctly, will result in well-joined pieces.
Mark the jointed edge of the workpiece
Start by marking the jointed edge of the workpiece. This will serve as a guide during the cutting process, ensuring accuracy and consistency in the jointed edges.
Place the workpiece on the table saw
With the jointed edge positioned against the fence, place the workpiece on the table saw. Make sure it is snug against both the fence and the table, providing stability and preventing any unnecessary movements while cutting.
Push the workpiece through the blade
Using a push stick or sled, apply light and even pressure on the workpiece while feeding it through the blade. Be mindful of maintaining a steady and controlled pace, allowing the table saw to do the cutting work. Never force the workpiece through the blade, as this can result in kickback or other safety hazards.
Jointing Narrow Stock
Cutting a rabbet for stability
When jointing narrow stock, it can be challenging to maintain stability and prevent tipping. One effective technique is to cut a rabbet on the underside of the stock, creating a flat edge that can rest securely on the table saw’s surface. This will enhance stability and ensure accurate jointing of the narrow stock.
Using a push stick or sled
Using a push stick or sled during jointing narrow stock is highly recommended. This additional tool provides added control and safety by allowing you to guide the stock through the blade while keeping your hands a safe distance away. Ensure that the push stick or sled is well-maintained and in good condition before use.
Using a featherboard
A featherboard is another useful accessory when jointing narrow stock on a table saw. It helps maintain even pressure against the fence and prevents the stock from wandering during the cutting process. By securing the narrow stock firmly in place, the featherboard ensures precise jointing and minimizes the risk of accidents.

Jointing Long Boards
Using an auxiliary fence
Jointing long boards can present challenges due to their length and potential instability. To address this, an auxiliary fence can be attached to the existing fence, providing extended support and creating a more stable surface for jointing. This additional support helps prevent any bending or movement of the long board during the cutting process, resulting in accurately jointed edges.
Using a jointing jig
A jointing jig is a specially designed tool that can assist in jointing long boards on a table saw. It provides a secure and stable platform for the long board, keeping it level and preventing any unwanted movement during cutting. By using a jointing jig, you can achieve accurate jointed edges on long boards with ease and precision.
Using a jointing sled
A jointing sled is another effective tool for jointing long boards. It consists of a flat platform with a fence that guides the long board through the blade, ensuring straight and consistent cuts. The sled’s design helps maintain stability, minimizing the risk of any wobbling or shifting of the long board during the jointing process.
Dealing with Tearout
Adjusting the blade height and angle
Tearout, or the splintering or chipping of the wood, can occur during the jointing process. To minimize tearout, one approach is to adjust the blade height and angle. Lowering the blade height can reduce the likelihood of splintering, while adjusting the blade angle can help create cleaner cuts. Experiment with different blade height and angle settings until you achieve the desired results.
Using a zero-clearance insert
A zero-clearance insert is a useful accessory that can significantly reduce tearout when jointing on a table saw. It provides ample support for the wood fibers, preventing them from splintering or chipping. By using a zero-clearance insert, you can improve the overall quality of your jointed edges and minimize the need for additional sanding or finishing.
Adding support with backer boards
Another technique to mitigate tearout is using backer boards. By placing a sacrificial piece of wood behind the workpiece, you provide added support for the fibers, reducing the likelihood of tearout. Backer boards can be easily produced from scrap wood, making them a cost-effective solution to improve the quality of your jointed edges.

Finishing Touches
Checking the jointed edge for flatness
After completing the jointing process, it is essential to check the jointed edge for flatness. A straightedge or square can be used to verify that the jointed edge is perfectly flat and free from any imperfections. If needed, minor adjustments can be made using hand tools or sanding techniques to achieve the desired flatness.
Removing any remaining saw marks
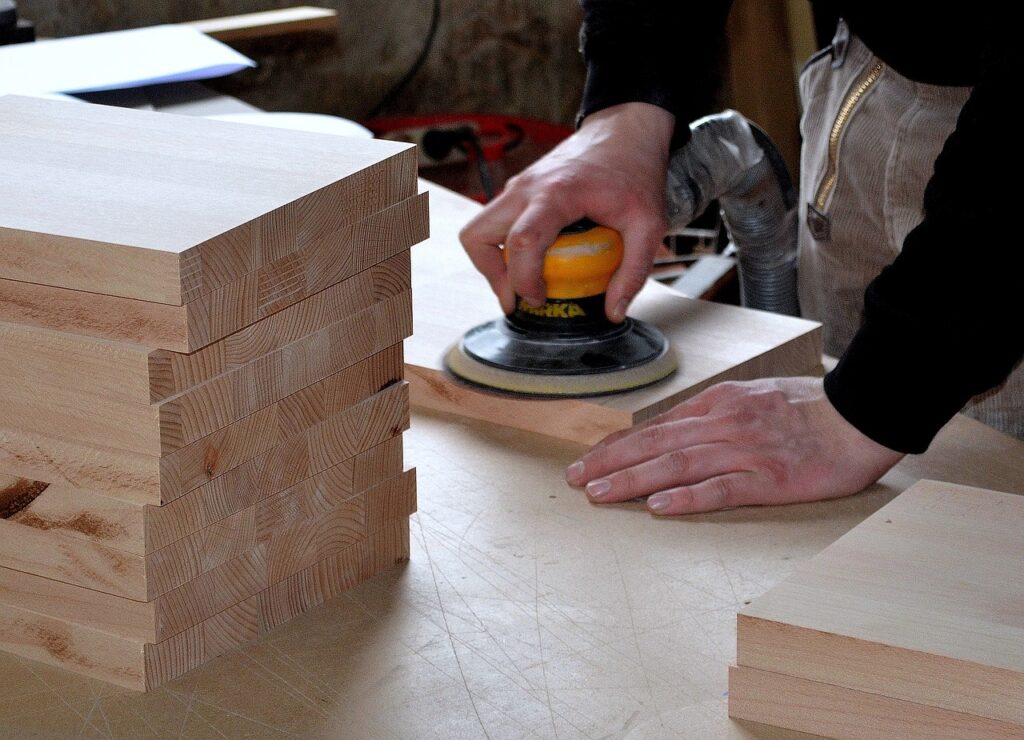
In some cases, the jointed edge may still have visible saw marks. To remove these marks and achieve a smooth finish, sanding is necessary. Start with coarse-grit sandpaper and gradually work your way to finer grits until the desired smoothness is achieved. Be sure to sand evenly and effectively across the entire jointed edge for a uniform finish.
Smoothing the jointed edge
To further enhance the jointed edge’s smoothness, a hand plane or sanding block can be used. With careful and controlled strokes, these tools can help refine the surface and eliminate any remaining imperfections. Remember to work in the direction of the wood grain for the best results, ensuring a polished and professional-looking jointed edge.
Maintenance and Sharpening
Cleaning the table and blade
Regular cleaning and maintenance of your table saw are essential for optimal performance and longevity. After each use, remove any sawdust or debris from the table, fence, and blade using a brush or vacuum. Additionally, periodically check the blade for any buildup or corrosion, and clean it accordingly. Proper cleaning and maintenance will not only prolong the life of your table saw but also contribute to safer and more efficient woodworking.
Checking blade alignment
Blade alignment is a critical aspect of operating a table saw. Over time, vibrations or other factors can cause the blade to become misaligned. Periodically check the alignment of your blade by using a dial indicator or other measuring tools. If the blade is not properly aligned, consult your table saw’s user manual for guidance on adjusting and aligning the blade correctly.
Sharpening the blade
A sharp blade is essential for achieving clean and precise jointed edges. While modern table saw blades are typically carbide-tipped and have longer lifespans, they still require occasional sharpening. Invest in a high-quality blade sharpener or take your blades to a professional sharpening service to ensure they remain in optimal condition. Regular blade sharpening will maintain the performance of your table saw and contribute to the quality of your jointing results.

Alternative Jointing Methods
Hand-planing
If a table saw is not available, hand-planing can be a viable alternative for jointing. Hand-planing involves the use of a hand plane to remove material and create a flat jointed edge. While it requires more time and effort, hand-planing can be an excellent option for smaller woodworking projects or situations where a table saw is not accessible.
Using a jointer plane
A jointer plane is a specific type of hand plane designed for jointing wider surfaces. With a longer sole and wider blade, a jointer plane can effectively straighten and flatten surfaces, resulting in accurately jointed edges. Much like hand-planing, using a jointer plane requires skill and practice to achieve optimal results.
Using hand tools
In addition to hand planes, other hand tools can be used for jointing. Chisels, card scrapers, and hand files are all valuable tools for refining and smoothing jointed edges. These tools offer precision and control, allowing for fine adjustments and detailing on jointed surfaces. While hand tool jointing requires manual effort and attention to detail, it can yield exceptional results with practice and skill.
Conclusion
Summary of the jointing process
Using a table saw as a jointer can be a practical and effective way to achieve precise and professional jointed edges. By following the necessary safety measures and preparing the table saw properly, you can ensure a safe and efficient jointing process. Whether jointing narrow stock or long boards, there are various techniques and tools available to achieve accurate and clean results. Additionally, addressing tearout, performing finishing touches, and maintaining your table saw and blades are crucial steps in achieving optimal jointing outcomes.
Importance of practicing safety measures
Throughout the entire jointing process, it is of utmost importance to prioritize safety. Wearing protective equipment, ensuring a properly set up workspace, and securely fastening the workpiece are essential safety measures that should never be overlooked. Remember to always exercise caution and follow proper techniques when using a table saw as a jointer. By practicing safety measures, you can create a safe and enjoyable woodworking experience while achieving beautiful jointed edges.

