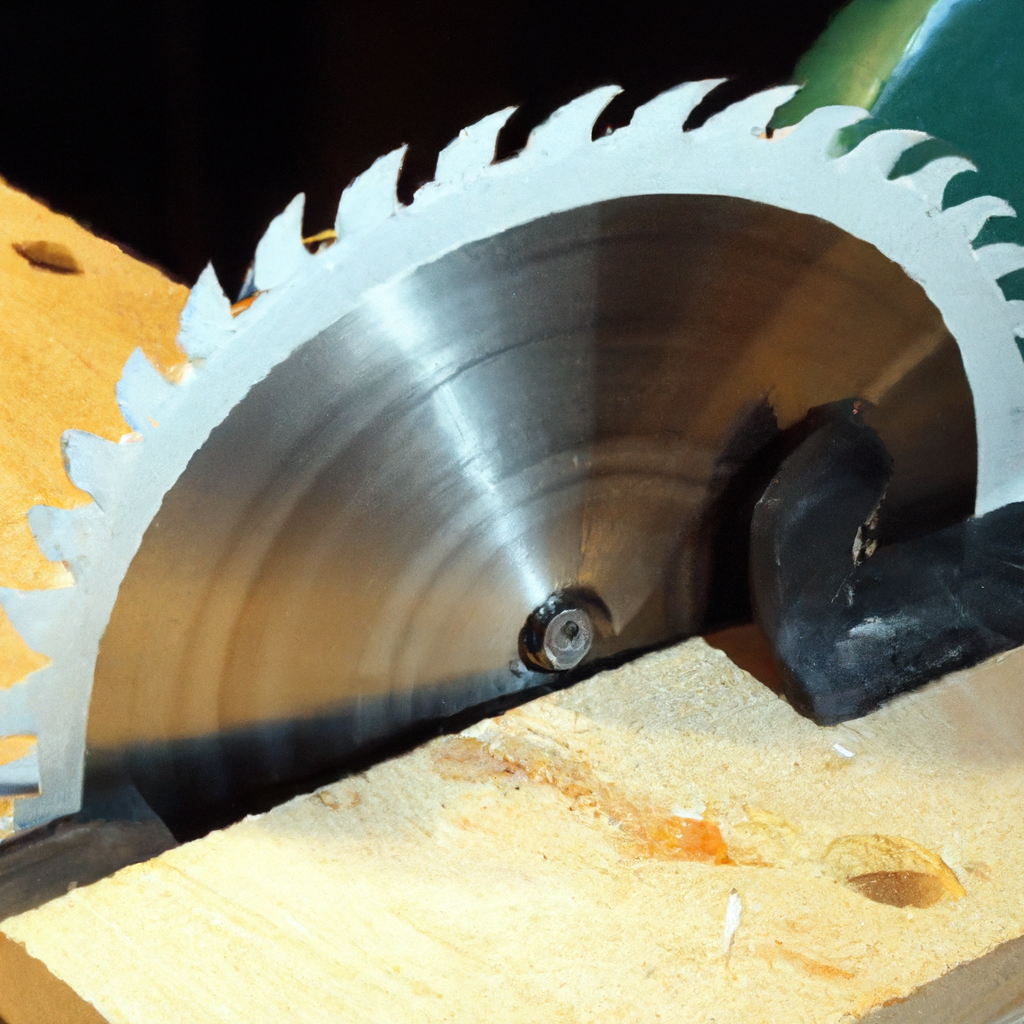
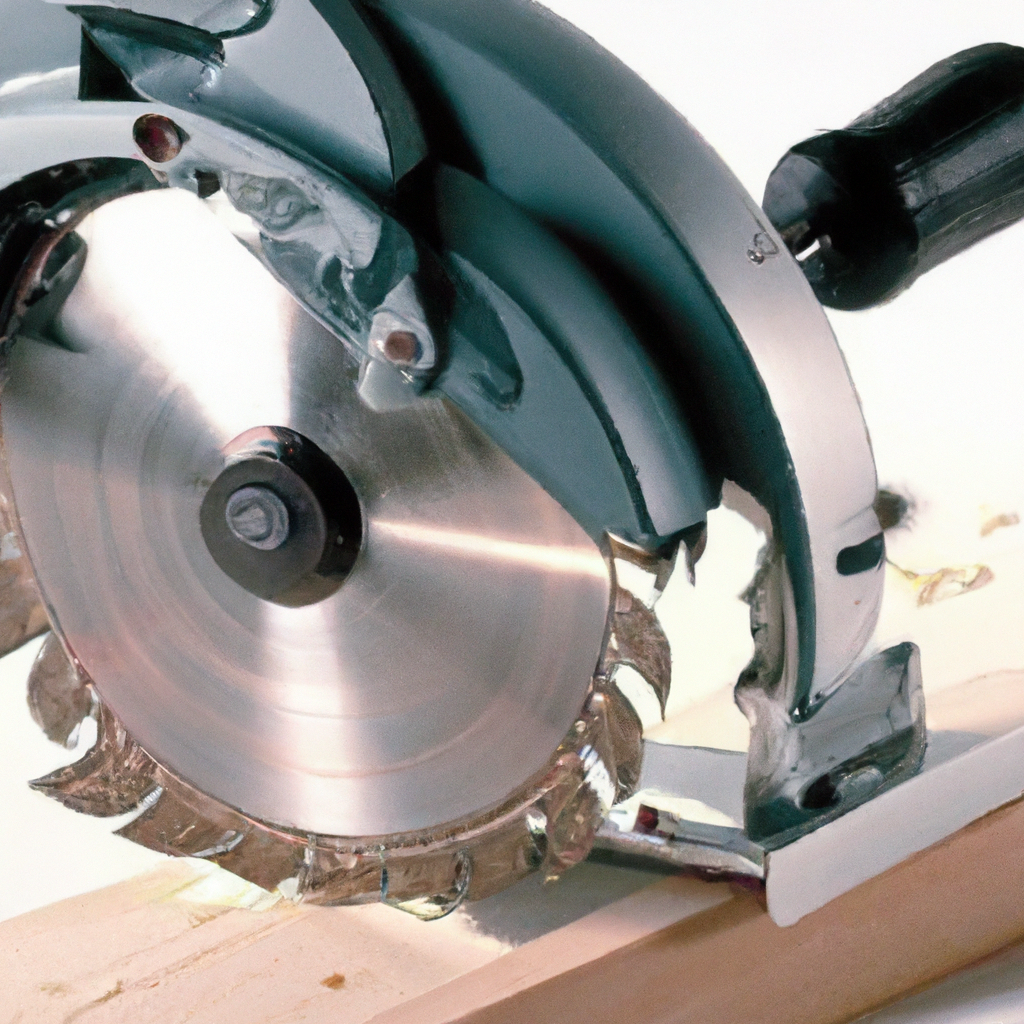
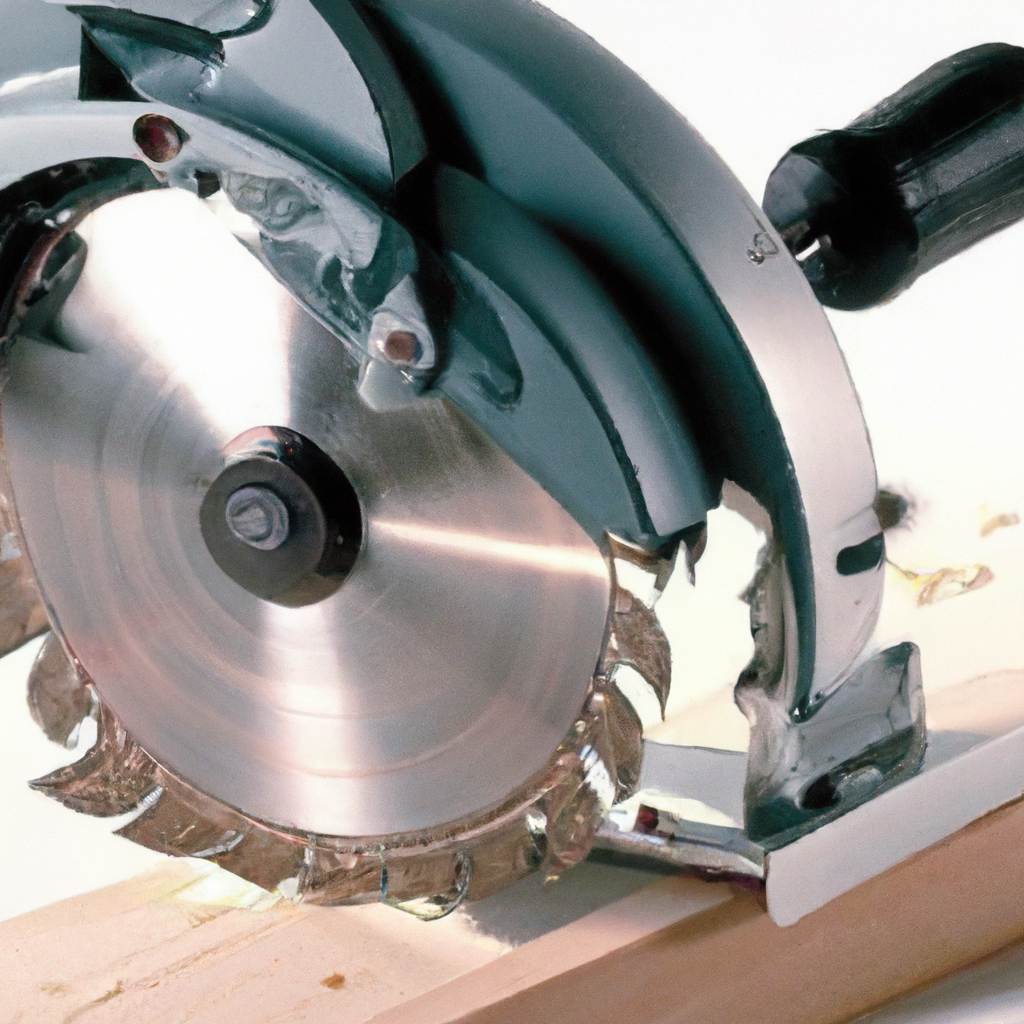
In this article, we will explore the ingenious technique of utilizing a circular saw as a table saw. Whether you’re a beginner DIY enthusiast or a seasoned woodworker, this method offers a cost-effective solution to maximize your woodworking capabilities. By understanding the fundamentals of this technique and following a few safety guidelines, you can achieve precise and efficient cuts with your circular saw, transforming it into a versatile tool that expands your possibilities in the workshop. So, let’s delve into the world of using a circular saw as a table saw and unlock the potential it holds for your woodworking projects.

Preparation and Safety
Wear safety gear
Before using a circular saw as a table saw, it’s important to prioritize your safety. Always wear suitable safety gear, including safety glasses to protect your eyes from flying debris, ear protection to guard against the noise of the saw, and gloves to provide a better grip and protect your hands.
Choose a suitable work area
Selecting the right work area is crucial to ensure both efficiency and safety. Find a spacious, well-lit, and well-ventilated space where you have enough room to maneuver the material you’ll be working with. Make sure the area is clean and free of any potential hazards that could cause accidents.
Secure the saw properly
Before starting any work, it’s essential to secure the circular saw properly. Ensure that the saw is firmly attached to a stable work surface or mounted securely on a table. This will prevent the saw from moving or vibrating excessively during operation, enhancing accuracy and reducing the risk of accidents.
Setting Up the Circular Saw
Install a rip fence
A rip fence is a crucial accessory that helps guide the material through the saw, ensuring a straight and precise cut. To install a rip fence, determine the desired distance between the blade and the fence, and then attach the fence firmly to the saw’s base plate. This will provide a reliable guide for your cuts and improve the overall accuracy of your work.
Adjust the blade depth
Before using the circular saw, it’s important to adjust the blade depth according to the material you’ll be cutting. The general rule of thumb is to set the blade depth slightly deeper than the thickness of the material. This will prevent the blade from cutting too shallow or too deep, ensuring clean and efficient cuts.
Set the bevel angle
In some cases, you may need to make beveled cuts using the circular saw. To achieve this, you’ll need to adjust the bevel angle. Most circular saws have a bevel adjustment knob or lever that allows you to set the desired angle. Make sure to lock the bevel angle tightly in place before making any cuts.
Using the Circular Saw as a Table Saw
Mark the material for cutting
Before making any cuts, it’s important to mark the material accurately. Use a straightedge and a pencil or a marking knife to draw a clear and precise line along the desired cutting path. This will serve as a guide to ensure that your cuts are straight and accurate.
Position the material on the work surface
Carefully position the material on the work surface, ensuring that it is secure and stable. It’s important to have a clear and unobstructed path for the circular saw to move through the material smoothly. Double-check the alignment and ensure that the material is properly supported to prevent any unexpected movements during the cutting process.
Align the rip fence correctly
If you’re using a rip fence, align it parallel to the marked cutting line. The rip fence should be positioned in such a way that the material is snugly held against it, ensuring a straight and accurate cut. Take your time to check the alignment before proceeding with the cut to avoid any mistakes or inaccuracies.

Making the Cut
Hold the material securely
Before starting the circular saw, make sure to hold the material securely. Use clamps or a vice grip to stabilize the material and prevent it from moving during the cut. This will ensure a smooth and controlled cutting process, minimizing the risk of accidents or mistakes.
Start the saw and let it reach full speed
Once everything is in place, start the circular saw and allow it to reach its full speed before making any cuts. This will ensure that the blade is spinning at its optimal speed, providing clean and efficient cuts. Take a moment to observe the blade and ensure that it is running smoothly without any wobbling or vibrations.
Guide the material through the saw
With the saw running at full speed, carefully guide the material through the saw along the marked cutting line. Use light and steady pressure to push the material forward, allowing the saw to do the work. Avoid forcing or pushing the material too hard, as this can result in an uneven cut or even kickback. Maintain control and let the saw blade cut through the material smoothly.
Safety Precautions
Keep hands away from the blade
One of the most critical safety precautions when using a circular saw as a table saw is to keep your hands away from the blade at all times. It’s essential to maintain a safe distance from the blade, using push sticks or push blocks to guide the material instead of your hands. This will minimize the risk of accidents and prevent any potential injuries.
Use push sticks or push blocks
To further enhance safety, always use push sticks or push blocks when guiding the material through the saw. These tools allow you to apply pressure and control the material without exposing your fingers or hands to the blade. Properly position the push sticks or push blocks to maintain control and guide the material steadily and safely through the cut.
Never remove the safety features
Circular saws come equipped with various safety features designed to protect the user from potential accidents. These features may include blade guards, riving knives, or anti-kickback devices. It is essential never to remove or disable these safety features. They are there for a reason and play a crucial role in preventing injuries and ensuring safe operation.
Maintaining the Circular Saw
Keep the blade clean and sharp
Regular maintenance of your circular saw is essential to ensure its optimal performance. After each use, clean the blade thoroughly to remove any built-up sawdust or debris. Additionally, regularly inspect the blade for signs of dullness or damage. If the blade is dull, sharpen or replace it to maintain clean and efficient cuts.
Check and adjust the saw’s alignment
Over time, the alignment of a circular saw may become slightly off, resulting in less accurate cuts. To mitigate this, periodically check the saw’s alignment and make any necessary adjustments. Consult the saw’s user manual for specific instructions on how to adjust the alignment properly.
Regularly inspect the cords and plugs
Inspect the cords and plugs of your circular saw regularly for any signs of damage or wear. Frayed cords or damaged plugs can pose a safety hazard and should be replaced immediately. Always unplug the saw before inspecting or performing any maintenance on the cords and plugs.
Using Accessories and Jigs
Attach a miter gauge for angled cuts
To make precise angled cuts, attach a miter gauge to your circular saw. A miter gauge allows you to set specific angles and guide the material accordingly. Secure the miter gauge firmly to the saw’s base plate and adjust it to the desired angle before making the cut. This will enable you to achieve accurate and repeatable angled cuts.
Use a crosscut sled for safer crosscuts
A crosscut sled is a valuable accessory that ensures safer and more precise crosscuts. It provides additional support and stability to the material, reducing the risk of kickback and improving overall cutting accuracy. Place the material securely on the crosscut sled and guide it through the saw, utilizing the sled’s stability for a controlled and safe cutting experience.
Install a zero-clearance insert for better support
For thin or delicate materials, consider installing a zero-clearance insert in your circular saw. A zero-clearance insert provides better support for the material being cut, reducing the risk of tear-out or splintering. The insert fills the gap around the blade, providing additional stability and minimizing the chances of the material getting caught or damaged during the cut.
Advanced Techniques
Dado cuts with a circular saw
Although primarily intended for rip cuts, a circular saw can also be used to make dado cuts. Dado cuts create wide channels or slots in the material, ideal for accommodating shelves or joining pieces together. To make dado cuts with a circular saw, make multiple passes with incremental adjustments to achieve the desired width of the dado.
Making beveled cuts
Beveled cuts add a decorative or functional element to your woodworking projects. To make beveled cuts with a circular saw, adjust the bevel angle according to your desired angle. Make sure the material is secure and correctly positioned before making the cut. Take your time and maintain control throughout the process to achieve clean and precise beveled cuts.
Cutting small pieces safely
When working with small pieces of material, safety becomes even more critical. To cut small pieces safely with a circular saw, consider using a sacrificial fence or a sled. A sacrificial fence provides additional support and prevents the small piece from moving during the cut. A sled allows you to secure the small piece firmly in place, minimizing the risk of accidents or injuries.
Tips and Tricks
Practice on scrap wood first
If you’re new to using a circular saw as a table saw, it’s always a good idea to practice on scrap wood first. This allows you to familiarize yourself with the tool, test different techniques, and perfect your cutting skills without the risk of ruining your actual project materials. Practice makes perfect, and starting with scrap wood will build your confidence and proficiency.
Try using a guide rail for straight cuts
For perfectly straight cuts, consider using a guide rail or a straightedge clamped onto the material. A guide rail provides a reliable and consistent guide for the circular saw, ensuring precise and straight cuts every time. Clamping the straightedge securely in place will prevent it from shifting during the cut, resulting in clean and accurate cuts along the entire length of the material.
Check for proper blade alignment
Before every cutting session, make it a habit to check the blade alignment of your circular saw. Even small misalignments can lead to inaccurate cuts and potential safety hazards. Ensure that the blade is parallel to the rip fence or guide and adjust if necessary. Taking the time to double-check the alignment before each cut will save you time and frustration in the long run.
Conclusion
Review the basic steps
Using a circular saw as a table saw may seem intimidating at first, but with proper preparation, setup, and technique, it can greatly expand your woodworking capabilities. Remember to wear safety gear, choose a suitable work area, and secure the saw properly. Install a rip fence, adjust the blade depth and bevel angle to set up the saw correctly.
Emphasize the importance of safety
Safety should always be the top priority when using any power tool, including a circular saw. Keep hands away from the blade, use push sticks or push blocks, and never remove the safety features. Taking these precautions will significantly reduce the risk of accidents and ensure a safe and enjoyable woodworking experience.
Encourage further practice and exploration
Using a circular saw as a table saw opens up a world of possibilities in your woodworking projects. With time and practice, you’ll become more comfortable and proficient in using this versatile tool. Keep exploring new techniques, try different accessories and jigs, and continue to improve your skills. Remember, practice makes perfect, and the more you use your circular saw, the better you’ll become.

