If you’re looking to improve the efficiency and precision of your woodworking projects, one vital aspect to consider is the sharpness of your table saw blades. A dull blade can lead to uneven cuts, increased effort, and a diminished overall performance. In this article, we will guide you through the process of sharpening table saw blades, offering practical tips and essential techniques to ensure that you can achieve the highest level of cutting power and accuracy. Get ready to breathe new life into your table saw and elevate your woodworking skills to new heights!
1. Safety Precautions
When sharpening your table saw blades, it’s essential to prioritize safety. By following a few simple precautions, you can ensure a safe and successful blade sharpening process.
1.1 Wear protective gear
Before you begin, make sure you are wearing the appropriate protective gear. Safety glasses are a must to shield your eyes from any debris or flying particles. Additionally, wearing gloves will protect your hands from any sharp edges or accidental slips during the process.
1.2 Disconnect power source
Always remember to disconnect the power source of your table saw before attempting to sharpen the blade. This step is crucial to prevent any accidental start-ups while working on the blade.
1.3 Clean the table saw
Before removing the blade, take some time to clean the table saw. Remove any sawdust or debris that may have accumulated on or around the blade area. Cleaning the saw ensures better visibility and prevents any unnecessary accidents.
1.4 Secure the blade
To avoid any accidental movement or injury, make sure the blade is securely locked in place. Ensure that the power is disconnected and use appropriate tools to secure the blade in position.
2. Signs You Need to Sharpen the Blade
To determine whether your table saw blade needs sharpening, there are a few signs you should look out for. Recognizing these signs will help you maintain the efficiency and performance of your saw.
2.1 Dull or burnt wood cuts
If you notice that your table saw is producing cuts that are dull or burnt, it is a clear indicator that your blade needs sharpening. Dull blades can cause friction, leading to the wood heating up and scorching.
2.2 Increased effort to cut
A sharp blade should effortlessly glide through wood. If you find that cutting now requires additional force or pressure, it’s a sign that your blade has become dull and needs sharpening.
2.3 Uneven or rough cuts
When your blade is no longer sharp, you may start to notice irregularities in your cuts. Uneven or rough edges suggest that your blade is struggling to make precise cuts and needs to be sharpened.
2.4 Vibration or excessive noise
A blade that is no longer sharp can cause your table saw to vibrate excessively or generate excessive noise. These vibrations and noises are indications that your blade is not functioning optimally and requires sharpening.
3. Gather Necessary Tools and Materials
To successfully sharpen your table saw blade, gather the following tools and materials to ensure a smooth and efficient process.
3.1 Safety glasses
Protecting your eyes is crucial during the blade sharpening process. Ensure you have a pair of safety glasses to shield your eyes from any potential debris or particles.
3.2 Gloves
Wearing gloves will provide an additional layer of protection for your hands. They will protect you from any sharp edges or accidental slips while handling the blade.
3.3 Cleaning brush
Having a cleaning brush handy will make it easier to remove any debris or residue from the blade before and after sharpening. This will ensure a clean and smooth sharpening process.
3.4 Blade sharpening kit
Investing in a quality blade sharpening kit is essential to achieve the best results. These kits typically include sharpening stones, honing guides, and other tools required for sharpening your table saw blade.
3.5 Blade removal tools
You will need specific tools to safely and efficiently remove the blade from your table saw. These tools may include a blade removal tool or a properly sized wrench, depending on your table saw model.
4. Removing the Blade
Before you can begin sharpening your table saw blade, you need to remove it from the saw. Follow these steps to safely remove the blade:
4.1 Unplug the table saw
Start by disconnecting the power source to ensure your safety. Unplug the table saw from its power outlet to prevent any accidental start-ups while working on the blade.
4.2 Remove the table saw’s throat plate
The throat plate is the rectangular piece usually located on top of the table saw. Remove the throat plate carefully by unscrewing it or using any designated mechanisms provided by your table saw model.
4.3 Use a blade removal tool to loosen the nut
With the throat plate removed, you can now access the nut that holds the blade in place. Use the appropriate blade removal tool or wrench to loosen the nut by turning it counterclockwise.
4.4 Carefully lift the blade out of the saw
Once you have loosened the nut, it’s time to carefully lift the blade out of the saw. Ensure a firm grip and handle the blade with caution to avoid any injuries. Place the blade in a safe and secure location until the sharpening process is complete.
5. Cleaning the Blade
Before proceeding with the actual sharpening process, it’s crucial to clean the table saw blade thoroughly. Removing any debris or residue ensures a smoother sharpening process and better overall performance of the blade.
5.1 Spray the blade with a cleaning solution
Start by spraying the blade with a suitable cleaning solution. This will help loosen any stubborn debris or substances stuck to the blade’s surface.
5.2 Use a cleaning brush to scrub off debris
Take a cleaning brush and gently scrub the blade, paying attention to all the teeth and edges. Ensure that you remove any dust, dirt, or residue that may have accumulated on the blade.
5.3 Rinse the blade with water
Once you have thoroughly scrubbed the blade, rinse it with water to remove any remaining cleaning solution or loosened particles. This step will help prepare the blade for the sharpening process.
5.4 Dry the blade thoroughly
After rinsing the blade, make sure to dry it thoroughly using a clean cloth or towel. Remove any excess moisture to prevent any potential rusting or corrosion.
6. Inspecting the Blade
Before moving forward with the sharpening process, thoroughly inspect the blade for any signs of damage or defects. Identifying any issues beforehand will help you determine if sharpening is the appropriate course of action.
6.1 Look for chips, cracks, or missing carbide tips
Inspect the blade closely for any chips, cracks, or missing carbide tips. Blades with significant damage may not be salvageable through sharpening alone and may require replacement.
6.2 Check for bent or uneven teeth
Ensure that the teeth on the blade are straight and evenly spaced. Bent or uneven teeth may affect the overall performance of the blade even after sharpening.
6.3 Measure the blade’s flatness using a straight edge
Place a straight edge across the blade to check for any warping or unevenness. A flat and straight blade is essential for achieving precise cuts.
6.4 Detect any excessive blade wobble
Spin the blade gently and observe if there is any wobbling or instability. Excessive blade wobble can indicate a bent or damaged blade that may require professional attention or replacement.
7. Choosing a Blade Sharpening Method
Once you have inspected the blade and determined that it is suitable for sharpening, you can proceed with selecting a suitable sharpening method. Here are a few options to consider:
7.1 Manual sharpening with a file
Manual sharpening with a file is a traditional and effective method for sharpening table saw blades. It allows for precise control and is suitable for smaller blade repairs.
7.2 Using a blade sharpening jig
A blade sharpening jig is a specialized tool designed to help maintain consistent angles and achieve accurate sharpening results. This method is ideal for those who want precise and uniform sharpening every time.
7.3 Using a professional sharpening service
If you’re uncomfortable sharpening your blade yourself or if the blade requires extensive repair, you may opt to seek a professional sharpening service. Professionals have the expertise and specialized equipment to sharpen your blade effectively.
8. Manual Sharpening with a File
If you’ve decided to sharpen your blade manually with a file, follow these steps:
8.1 Secure the blade using a vise
To ensure safety and stability, secure the blade using a vise. Make sure the teeth of the blade are facing away from you and avoid overtightening to prevent any potential damage.
8.2 Identify the cutting edges to be sharpened
Inspect each tooth and identify the cutting edges that need sharpening. Note any dull or damaged areas that require attention.
8.3 Angle the file and begin sharpening
Hold the file at a consistent angle, usually matching the existing angle of the blade’s teeth. With steady pressure, file each tooth in a smooth and controlled motion. Make sure to maintain the same angle throughout the process.
8.4 File in one direction only
When filing, always move the file in one direction only, preferably from the inside of the tooth towards the outside. Avoid using a back-and-forth sawing motion, as it can damage the tooth and result in an uneven sharpening.
8.5 Remove burrs with a honing stone
Once you’ve filed all the teeth, use a honing stone to remove any burrs or rough edges. Gently run the honing stone along the edges of the teeth to ensure a smooth and even finish.
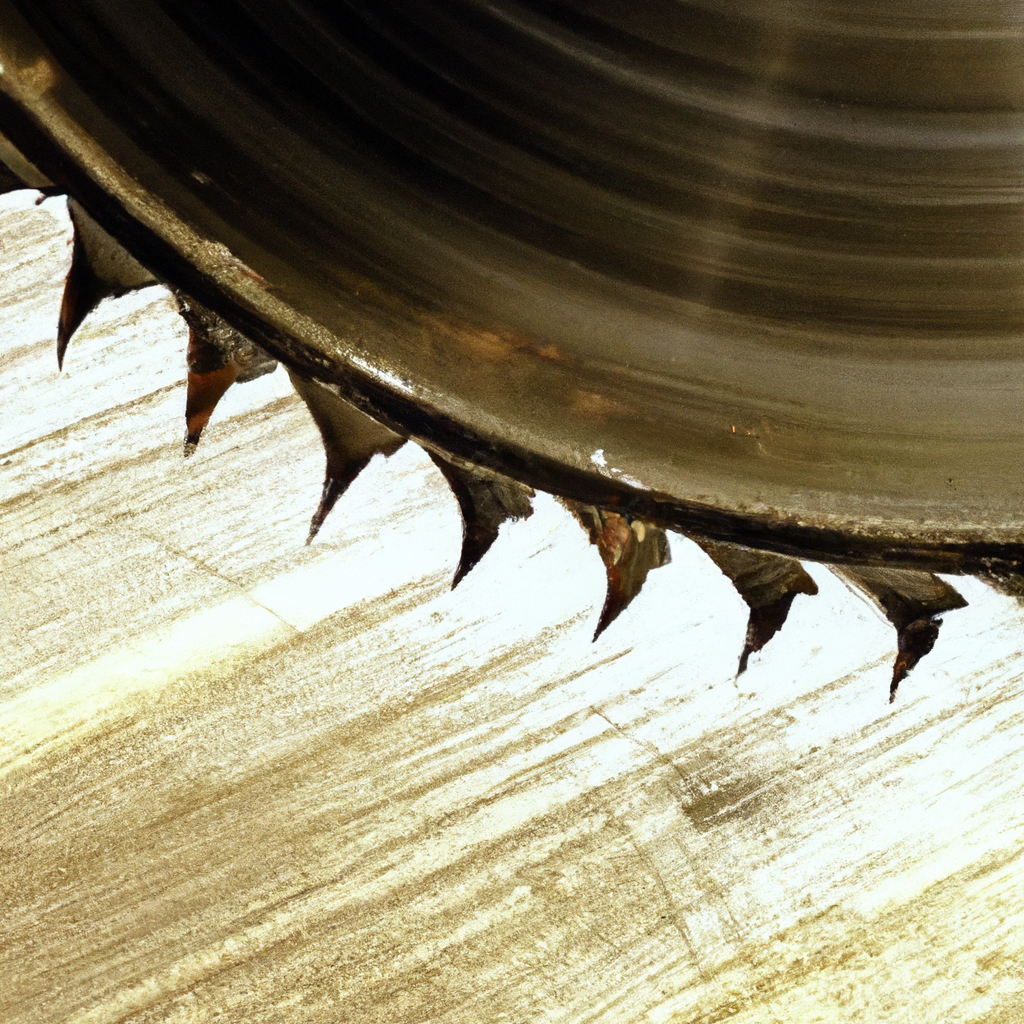
9. Using a Blade Sharpening Jig
If you’ve chosen to use a blade sharpening jig, here’s how to proceed:
9.1 Attach the jig to the table saw blade
Attach the sharpening jig securely to the table saw blade following the manufacturer’s instructions. Ensure that the jig is properly aligned and centered.
9.2 Set the desired sharpening angle
Most sharpening jigs allow you to adjust the sharpening angle according to your requirements. Set the desired angle based on the manufacturer’s recommendations or your personal preference.
9.3 Follow the manufacturer’s instructions for sharpening
Different jigs may have unique sharpening methods and guidelines. Always refer to the manufacturer’s instructions for the specific sharpening process using the jig.
9.4 Repeat the process for each tooth
With the jig properly set up, systematically sharpen each tooth of the blade according to the jig’s instructions. Ensure consistent pressure and follow a steady motion to achieve uniform results.
9.5 Clean the blade after sharpening
Once you have finished sharpening all the teeth, take the time to clean the blade thoroughly. Remove any debris, filings, or lubricants that may have accumulated during the sharpening process to ensure optimal performance.
10. Reinstalling the Blade
After sharpening your table saw blade, it’s time to reinstall it back into the saw. Follow these steps to safely reinstall the blade:
10.1 Lower the blade back into the saw
Carefully lower the blade back into the saw, making sure it is properly aligned with the arbor. Take your time and ensure that the blade is seated correctly.
10.2 Tighten the blade nut securely
Using the appropriate tool or wrench, tighten the blade nut securely. Ensure that the nut is tightened enough to prevent any movement but be cautious not to overtighten and damage the blade.
10.3 Replace the throat plate
Once the blade is secure, replace the throat plate back onto the saw. Ensure that it fits snugly and is securely fastened.
10.4 Plug in the table saw
With the blade safely reinstalled and the throat plate in place, plug in the table saw to restore power.
10.5 Test the blade for proper functioning
Before resuming regular use, test the table saw blade’s functionality. Run a few test cuts on scrap wood to ensure that the blade is cutting smoothly and accurately. If any issues persist, reevaluate the blade and troubleshoot as necessary.
With these comprehensive steps, you can confidently sharpen your table saw blades and enjoy efficient and precise cutting for your woodworking projects. Remember to always prioritize safety, and if you’re unsure or uncomfortable with the process, seek professional assistance. Happy cutting!

