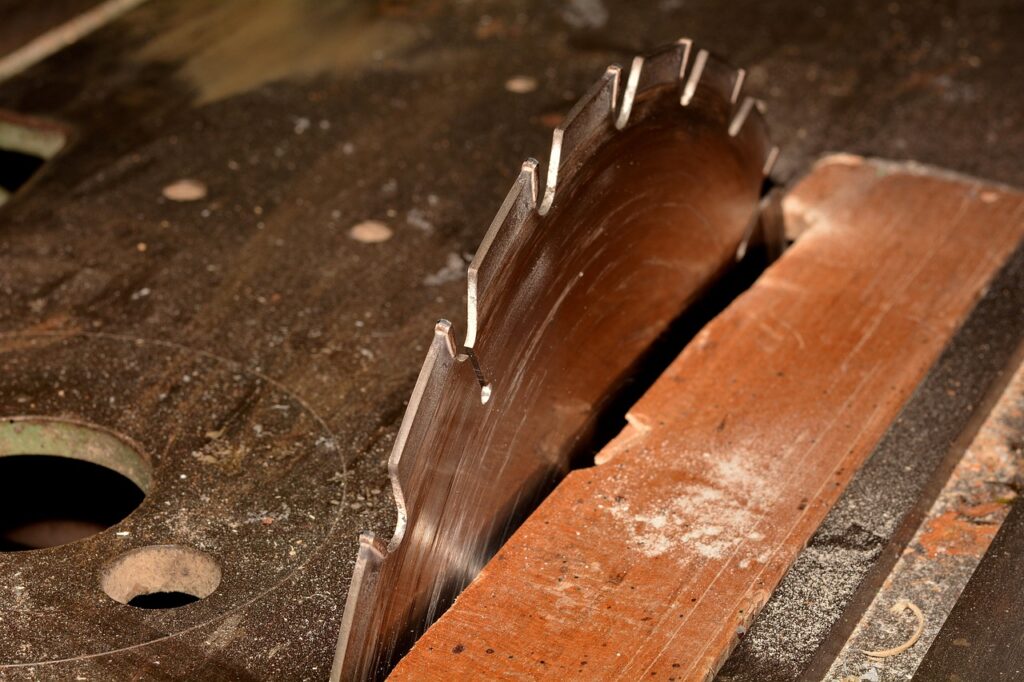
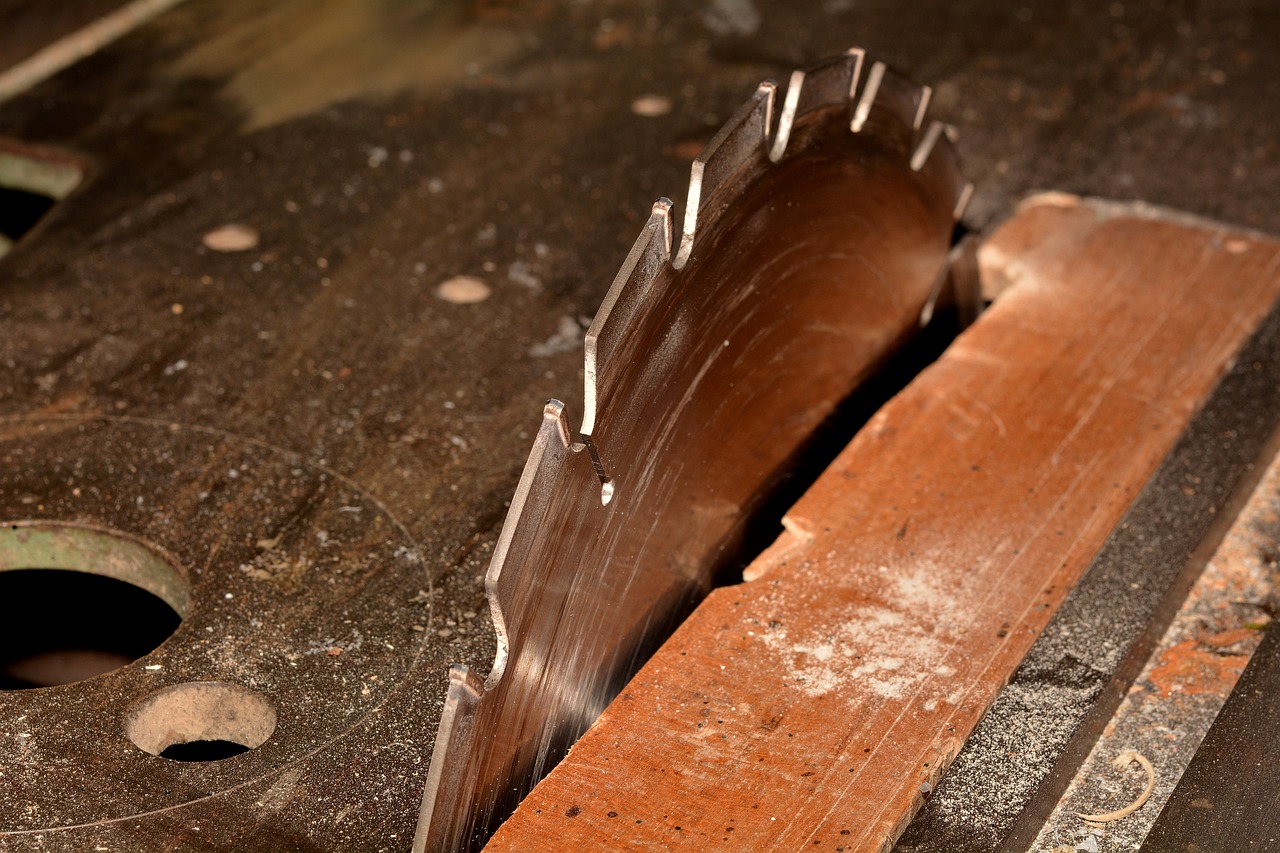
In this informative article, you will learn the step-by-step process of changing the blade on a table saw, ensuring a smooth and efficient experience. Whether you’re a DIY enthusiast or a professional woodworker, knowing how to replace the blade on your table saw is essential for maintaining both safety and precision in your woodworking projects. With clear instructions and helpful tips, this guide will empower you to confidently tackle this task and get back to effortlessly creating beautiful pieces of furniture.

Preparing the Table Saw
Before you begin changing the blade on your table saw, it’s important to take certain precautions to ensure your safety. Follow these steps to prepare your table saw for blade replacement:
Shut off the Power
The first step in any maintenance or repair task involving power tools is to shut off the power. Locate the power switch on your table saw and turn it off. For added safety, unplug the saw from the power source or disconnect it from the circuit breaker.
Clear the Workspace
Clear your workspace of any debris, tools, or other objects that might interfere with the blade replacement process. A clean and organized workspace will make it easier for you to maneuver and perform the necessary tasks.
Gather Necessary Tools
Make sure you have all the necessary tools for blade replacement. Typically, you will need a wrench or socket set to loosen and tighten the arbor nut and possibly a screwdriver to remove any blade guards or splitters. Having these tools ready will save you time and frustration during the blade replacement process.
Disconnect the Sawdust Collection System
If your table saw is equipped with a sawdust collection system, disconnect it before proceeding. This will prevent any obstructions while changing the blade. Simply detach the hose or tube connecting the collection system to the saw, ensuring a clear path for the blade removal and installation process.
Removing the Existing Blade
Once you’ve prepared your table saw, it’s time to remove the existing blade. Follow these steps for safe and efficient blade removal:
Secure the Blade
Before you start removing the blade, make sure it is secure. This can be done by engaging the blade lock or using a block of wood to prevent the blade from rotating. By securing the blade, you reduce the risk of accidental movement during the removal process.
Set the Blade Elevation to Its Lowest Position
Lower the elevation of the blade to its lowest position to ensure better access and prevent any mishaps during the blade removal. Most table saws have a lever or a crank that allows you to adjust the blade elevation easily.
Remove the Blade Guard and Splitter
In order to access and remove the blade, you will likely need to remove the blade guard and splitter. These safety features are designed to protect you from direct contact with the blade. Follow the instructions provided by the manufacturer to safely remove these components.
Loosen the Arbor Nut
Locate the arbor nut, which holds the blade in place, and loosen it using a wrench or socket set. Ensure you are turning the nut in the correct direction, which is usually counterclockwise. Take caution when loosening the nut, as it may be tightly secured.
Remove the Blade
Once the arbor nut is sufficiently loosened, carefully remove the existing blade from the arbor. Hold the blade by the center hole, making sure your fingers are clear from the sharp teeth. Slowly lift the blade away from the table saw, keeping your hands away from the exposed edges.

Selecting a New Blade
Choosing the right blade for your table saw is crucial for achieving optimal cutting results. Consider the following factors when selecting a new blade:
Consider the Type of Cut
Think about the type of cuts you frequently make. Are you mainly performing crosscuts, rip cuts, or a combination of both? Different blades are designed for specific cutting applications, such as general-purpose blades for versatility or specialized blades for specific materials or styles of cuts.
Choose the Right Blade Size
Blade size is another important factor to consider. Table saw blades come in various sizes, typically determined by their diameter and the size of the arbor hole. Make sure to select a blade that matches the specifications of your table saw, ensuring a proper fit and safe operation.
Decide on the Tooth Count and Configuration
Tooth count and configuration have a significant impact on the quality of your cuts. Blades with a higher tooth count typically produce smoother finishes, making them suitable for precision cuts. On the other hand, blades with a lower tooth count are better suited for rough cuts and faster material removal.
Check Blade Compatibility with Your Saw
Before finalizing your blade selection, it is essential to ensure compatibility with your specific table saw model. Consult the user manual or manufacturer’s recommendations to verify that the blade you have chosen is suitable for your saw’s arbor size, maximum RPM, and other specifications.
Installing the New Blade
Once you’ve chosen the perfect blade for your table saw, it’s time to install it. Follow these steps to ensure a secure and proper installation:
Install the Blade Flange
Start by placing the blade flange onto the arbor, making sure it aligns correctly with the arbor hole. The flange helps center the blade and keeps it in position during operation. Be sure to follow any specific instructions provided by the manufacturer regarding the installation of the blade flange.
Align the Blade
Align the new blade with the blade flange, ensuring that the teeth are facing in the right direction. Different blades may have arrows or markings indicating the correct orientation. Aligning the blade accurately is important for efficient and precise cuts, as misalignment can result in poor performance or even accidents.
Attach the Arbor Nut
Once the blade is properly aligned, reattach the arbor nut on the arbor. Hand-tighten the nut to ensure it is secure, but avoid over-tightening at this stage.
Tighten the Arbor Nut
Using a wrench or socket set, tighten the arbor nut securely. Be cautious not to overtighten, as this can damage the blade or put excessive strain on the table saw’s arbor. Follow the manufacturer’s recommended torque specifications if available.
Replace the Blade Guard and Splitter
After the new blade is securely attached, reattach the blade guard and splitter according to the manufacturer’s instructions. These safety features are vital for protecting you from potential hazards during operation.

Performing a Safety Check
Before powering on your table saw and getting back to work, it’s essential to perform a safety check to ensure everything is in order. Follow these steps to ensure a safe working environment:
Ensure Blade is Securely Attached
Double-check the arbor nut to make sure it is securely tightened. A loose blade can lead to vibration, poor cutting performance, and a safety hazard. Confirm that the blade is snugly in place before proceeding.
Check Blade Rotation Direction
Verify that the blade is rotating in the correct direction. Most table saw blades are designed to rotate clockwise when viewed from above. Confirming the proper rotation direction will prevent kickback and maximize cutting efficiency.
Adjust the Blade Elevation
Set the blade elevation to the desired height for your intended cuts. Ensure the elevation adjustment mechanism is functioning properly and that the blade raises and lowers smoothly without any obstructions or resistance.
Reconnect the Sawdust Collection System
If you disconnected the sawdust collection system earlier, now is the time to reconnect it. Proper dust collection helps maintain a clean and safe working environment, reducing the risk of airborne particles and improving visibility during cutting.
Power On the Table Saw
Once you have completed all the safety checks and made sure everything is properly set up, you can power on your table saw. Follow the manufacturer’s instructions for turning on the saw, ensuring that you maintain a firm grip and proper body positioning while operating the machine.
General Tips and Safety Precautions
To ensure a successful and safe blade replacement process, keep these general tips and safety precautions in mind:
Read the User Manual
Familiarize yourself with the user manual provided by the table saw manufacturer. Each table saw may have specific instructions and safety guidelines that are crucial to follow. Take the time to read and understand this information before attempting to change the blade.
Wear Appropriate Safety Gear
Always wear the appropriate safety gear when operating a table saw. Safety glasses or goggles, ear protection, and gloves are essential. These protective items will safeguard you from potential flying debris, loud noise, and sharp objects.
Maintain a Clean Work Area
Keep your work area clean and organized throughout the blade replacement process. Removing tripping hazards and debris from the floor will reduce the risk of accidents. Additionally, a clean workspace allows for better focus and maneuverability while working with the table saw.
Inspect the Blade Regularly
Make it a habit to inspect the blade regularly, even when you are not changing it. Look for signs of wear, damage, or dullness. A damaged or dull blade can compromise cut quality and increase the risk of accidents. Replace the blade if necessary to maintain optimal performance and safety.
Practice Safe Handling and Storage
When handling the blade, exercise caution and handle it by the center hole or use protective gloves. Improper handling can result in cuts or other injuries. When storing the blade, ensure it is kept in a safe place, away from children and in a protective case or sheath to prevent accidental contact.
Troubleshooting and FAQs
Here are some common troubleshooting questions and answers regarding blade changes on a table saw:
My Arbor Nut Won’t Loosen, What Should I Do?
If you find that the arbor nut is difficult to loosen, ensure you are turning it in the correct direction. Applying some penetrating lubricant to the nut and allowing it to penetrate for a few minutes may also help. If you still experience difficulty, consult the user manual or consider seeking assistance from a professional.
How Often Should I Change the Blade?
The frequency of blade changes depends on usage and the condition of the blade. Generally, it is a good practice to inspect your blade regularly for signs of wear or dullness. Replace the blade when it no longer meets your cutting expectations or shows visible signs of damage.
What Blade Should I Use for Rip Cuts?
For rip cuts, which involve cutting material parallel to the wood grain, use a blade specifically designed for this purpose. Rip-cut blades typically have fewer teeth and a more aggressive tooth configuration to efficiently remove material along the length of the cut.
Why Does My Blade Produce Burn Marks?
Burn marks on your cut surface may indicate that your blade is dull, improperly aligned, or that you are feeding the material too slowly. Check the blade condition and alignment, and adjust your feed rate accordingly to avoid burn marks.
Can I Use Dull Blades?
Using a dull blade is not recommended. Dull blades not only produce poor-quality cuts but also put excessive strain on your table saw. Additionally, dull blades can increase the risk of kickback, where the workpiece is violently thrown back toward the operator. Always use sharp blades for optimal performance and safety.
Conclusion
Changing the blade on a table saw is an essential skill for any woodworker or DIY enthusiast. By following the step-by-step process outlined in this article, you can safely and efficiently replace the blade on your table saw. Remember to take necessary safety precautions, choose the right blade for your specific cutting needs, and regularly inspect and maintain your blades for best results. Happy cutting!

